
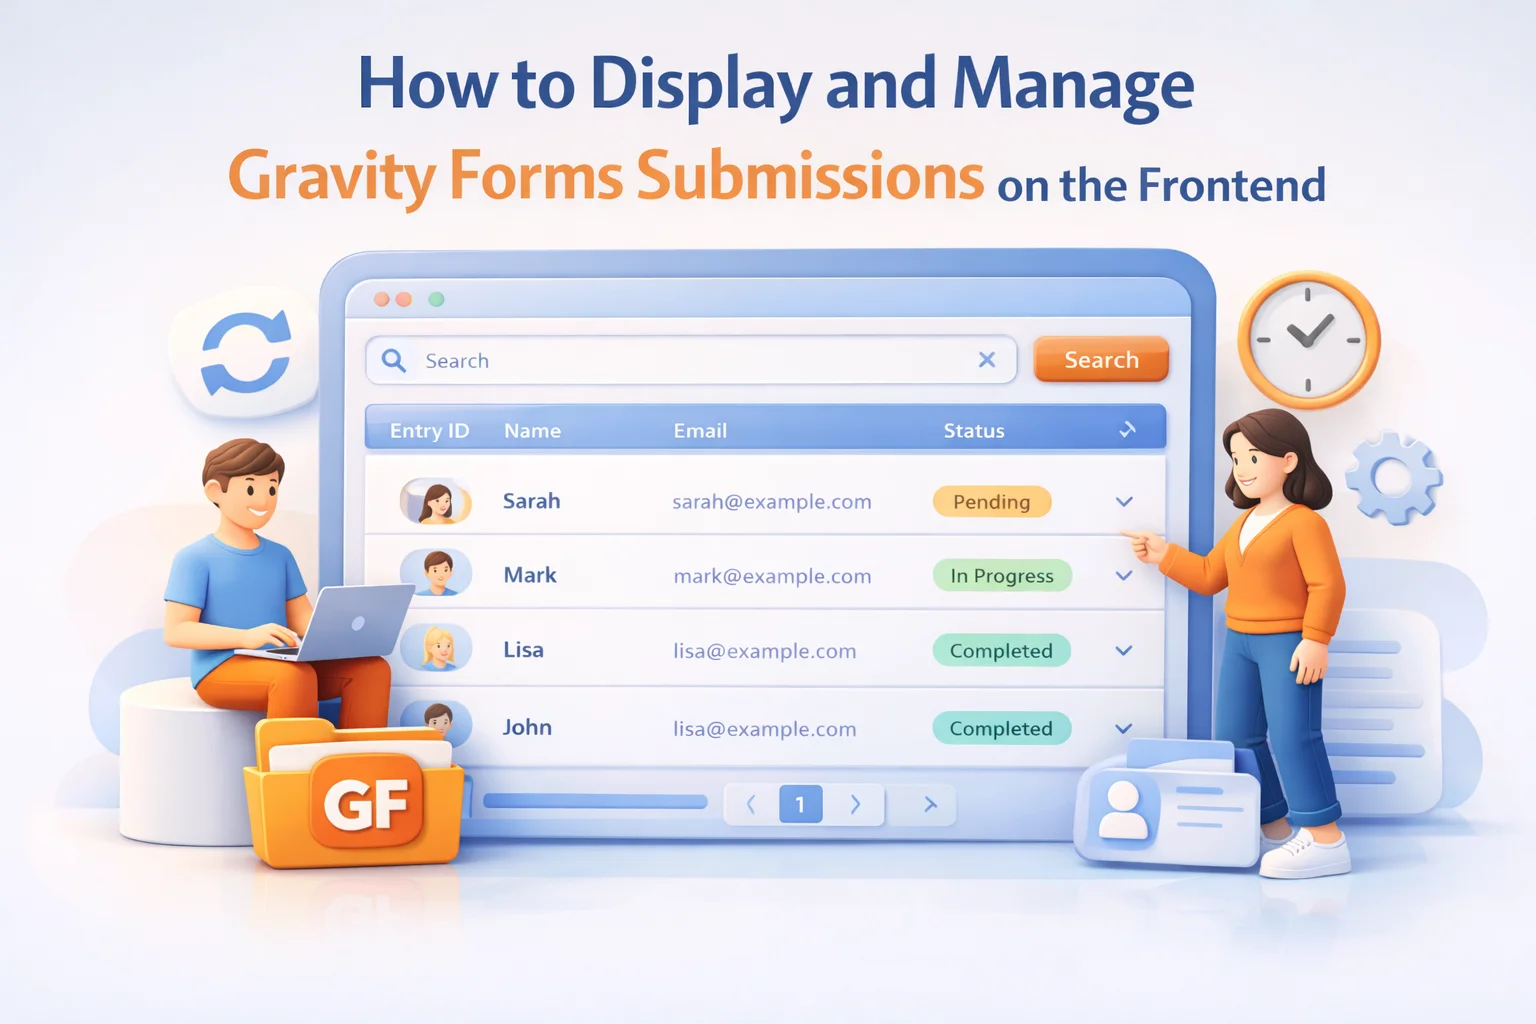
If you’ve built any kind of data collection workflow on WordPress using Gravity Forms, you’ve probably run into this at some point: the data is in the system, it’s organized, it’s searchable from the admin dashboard — and now someone (your users, your clients, your members) wants to see it from the front of the site. Not the admin. The actual website.
Maybe you want logged-in users to see a table of their own submissions. Maybe you want to display a public list of approved entries — a job board, an event calendar, a resource directory. Maybe you want a management interface where users can update, delete, or track the status of things they’ve submitted. All of these require the same foundational capability: getting Gravity Forms entry data onto the frontend of your site in a structured, controlled way.
This guide covers the complete picture — from understanding why this is non-trivial, to the different display patterns and their use cases, to a concrete setup that gets you from “entries in the admin” to “a working frontend management interface” without writing custom code.
Why Gravity Forms doesn’t have native frontend display
Gravity Forms is architected around two separate concerns: the form (the input interface presented to the public) and the entries (the output records stored and managed in the admin). These two concerns have deliberately separate interfaces because they serve different users. The form is for anyone. The entries are for administrators.
This separation makes complete sense for the vast majority of form use cases — contact forms, survey forms, order forms, inquiry forms — where the submitter has no reason to interact with their submission again after hitting send. But the moment your use case involves an ongoing relationship with the submitted data, the separation creates a gap: a frontend layer that doesn’t exist between the form the user submitted and the admin view only you can see.
Filling that gap is what frontend display and management tools are for. They’re not filling a deficiency in Gravity Forms — they’re extending its use case into territory it was never designed to cover natively.
The three main frontend display patterns
Not all frontend display use cases are the same. Before choosing a solution, it helps to be clear about which pattern you’re implementing. Each one has different access control requirements, different UX expectations, and different technical considerations.
The most common use case: logged-in users can see a list of their own submissions, view individual entries in detail, and edit their information. No user can see another user’s entries. The entire interface is private — typically behind a login wall. This pattern covers job application portals, client portals, booking management, member profile management, and any other scenario where each user has their own pool of data to manage.
Some submissions are meant to be public — member directories, vendor listings, resource libraries, approved testimonials. This pattern displays entries to anyone who visits the page (or to logged-in members, in a semi-public variant). It typically involves an approval step before entries are made visible, and often includes search and filter functionality so visitors can find what they’re looking for. Individual submitters can still have a private dashboard for managing their own entries while the public view shows only approved, visible data.
The most complete pattern combines both: a private portal where each user can manage their own data, and a public or member-visible directory where approved entries are searchable. A professional association might run this as a member directory where members manage their profiles privately but appear publicly in the directory after admin approval. This pattern requires the most careful configuration but delivers the richest user experience.
How access control works — and why it matters more than you think
Access control is the most critical and most frequently underestimated aspect of frontend submission display. When entries are accessible from the frontend, there are several attack surfaces that need to be properly secured. Most casual implementations — including many built with the PHP pre-populate approach — fail on at least one of these.
First: authentication must be verified before any entry data is returned to the browser — not just before rendering the page. An authenticated page check in the WordPress template layer doesn’t prevent a logged-out user from making a direct request to the data endpoint. Second: entry ownership must be verified server-side, not client-side. URL manipulation (changing an entry ID in a query parameter) is trivial and should never be the only thing standing between a user and someone else’s data. Third: the data returned for display must be filtered at the query level, not hidden by CSS or JavaScript after retrieval. Hiding is not security.
When all three of these are properly implemented, the system is genuinely secure. When any one of them is missing, the system has a potential data exposure vulnerability. This is why DIY approaches using exposed entry IDs in URLs are categorically inadequate for anything more than a demo, regardless of how well-intended they are.
Setting up frontend submission management with Nexu Portal
Nexu Portal — the frontend submission management and user dashboard plugin for Gravity Forms handles all three access control layers correctly and provides the frontend display infrastructure for all three patterns described above. Here’s how the setup works in practice:

Select the Gravity Form you want to surface, then configure which fields appear as columns in the user-facing entries table. A submission date, a title or reference field, and a status column are typically the minimum useful configuration. Add a search bar if you have users with many entries. The table is responsive by default and adjusts to mobile screen widths automatically.
Configure what actions users can take on their entries. View-only is appropriate for entries that shouldn’t be changed after submission. Edit is appropriate for profile information and ongoing requests. Delete is appropriate where users should be able to withdraw a submission. You can make these conditional on entry status — entries with a “Locked” status might become view-only even if editing is otherwise allowed.
When a user clicks to view a specific submission, they see an entry detail page. Configure which fields appear in this view — you might show more detail here than in the list table, including fields that weren’t columns in the table. This view can also show admin-set status information in a way that’s meaningful to the user, rather than exposing internal status codes.
If you’re running Pattern 2 or Pattern 3 (public or semi-public display), enable the directory view and configure which fields appear publicly. Set the visibility rules: which entries appear (approved entries only? all active entries?) and who can see them (public, logged-in members, specific roles). Configure search and filter fields for the public view independently from the private dashboard configuration.
Entry status and workflow: what users see versus what you manage
One of the most practically useful aspects of frontend submission management is status communication. When you change the status of an entry in the Gravity Forms admin — from “Pending” to “Approved,” from “Under Review” to “Requires Changes” — what does the submitting user see?
With a raw Gravity Forms setup and no frontend display layer, the answer is: nothing. The status change happens in the admin, the user has no visibility into it, and the only way they find out is if you send them an email notification (which you have to set up separately in Gravity Forms’ notification system).
With a frontend portal, the status can be displayed alongside the entry in the user’s submissions list. Users can log in and check the status of their submission without needing to email you and ask. This single change — making status visible to submitters — dramatically reduces the volume of “where is my application?” and “has my request been received?” messages that admin teams deal with.
Building a public submissions display: approval and content moderation
For Pattern 2 and Pattern 3 use cases — public or semi-public submission displays — content moderation is an important consideration. Not every submission should be visible the moment it’s submitted. A job board, a vendor directory, a testimonial wall — any of these would be seriously problematic if every submitted entry appeared immediately without any review.
The moderation workflow with Gravity Forms and a frontend display layer works as follows: submissions come in as new entries with a default status (typically “Pending” or “Unread”). An admin reviews them in the Gravity Forms admin and changes the status to “Approved” or a custom active status. The frontend display is configured to only show entries with the approved status. This gives you a clean separation between what’s in the system and what’s publicly visible.
For submitters, this means their entry appears in their private dashboard immediately after submission — they can see it and track its status — but it doesn’t appear in the public directory until it’s been reviewed. This two-stage visibility is the expected behavior for most public submission platforms and is something users generally understand intuitively once they’re told about it at submission time.
The biggest UX mistake in public submission systems is leaving submitters in the dark about the moderation process. Set up a Gravity Forms notification that fires on submission, telling users their submission has been received and will be reviewed before appearing publicly. Tell them approximately how long that takes. Give them the URL of their private portal where they can track status. This turns an opaque process into a transparent one and eliminates almost all “where is my submission?” support requests.
Common questions about frontend Gravity Forms submission management
Yes. A single portal page can display entries from multiple Gravity Forms, either as separate tabs or sections. Each form’s entries are configured independently — different columns, different permissions, different status labels — but they all appear within the same portal page experience. This is the approach for multi-form client portals where a user might have submissions across several different forms relating to the same engagement.
File upload fields in Gravity Forms behave correctly in the frontend editing context: when the user opens an entry for editing, existing file uploads are shown. If the user uploads a new file, it replaces the existing one. If the user doesn’t interact with the file upload field, the existing file is preserved. There’s no case where an edit action accidentally deletes file uploads the user didn’t intend to change.
For the private dashboard (Pattern 1), login is always required — there’s no meaningful “private” view for unauthenticated users. For the public directory (Pattern 2), you can configure it to be publicly accessible without login. The two views have independent access configurations, so you can have a public directory that anonymous users can browse while the management dashboard requires authentication.
When a user submits an edit through Nexu Portal, the entry update can be configured to trigger Gravity Forms notifications — the same email notifications you’ve set up for the form. This allows you to receive an admin notification whenever a user updates their entry, and to send the user a confirmation of their changes. This keeps your existing notification workflows intact rather than requiring you to build parallel notification logic.
Give your Gravity Forms submissions the frontend they deserve
Nexu Portal provides the complete frontend layer: private user dashboards, public directories, entry status display, frontend editing, and proper access control — all configurable without code.





Finally found a guide that actually explains how to expose Gravity Forms entries securely no just dumping them in a shortcode like every other tutorial. The access control section was a lifesaver and saved me hours (most guides skip the "who sees what" part entirely).
Hey everyone, just a heads up if you're using this for public forms. I tried it for a job board where submissions were supposed to be visible to visitors, but the default access controls are way too open. People could just tweak the URL and see drafts or unpublished entries even things marked private. That's a big problem when you're handling sensitive applicant info. I had to add extra code to lock it down, which kind of defeats the whole "no code" thing.
Saved my bacon last minute!