Next-Level Code. Nexuvibe Style ...
Hrs
Min
Sec

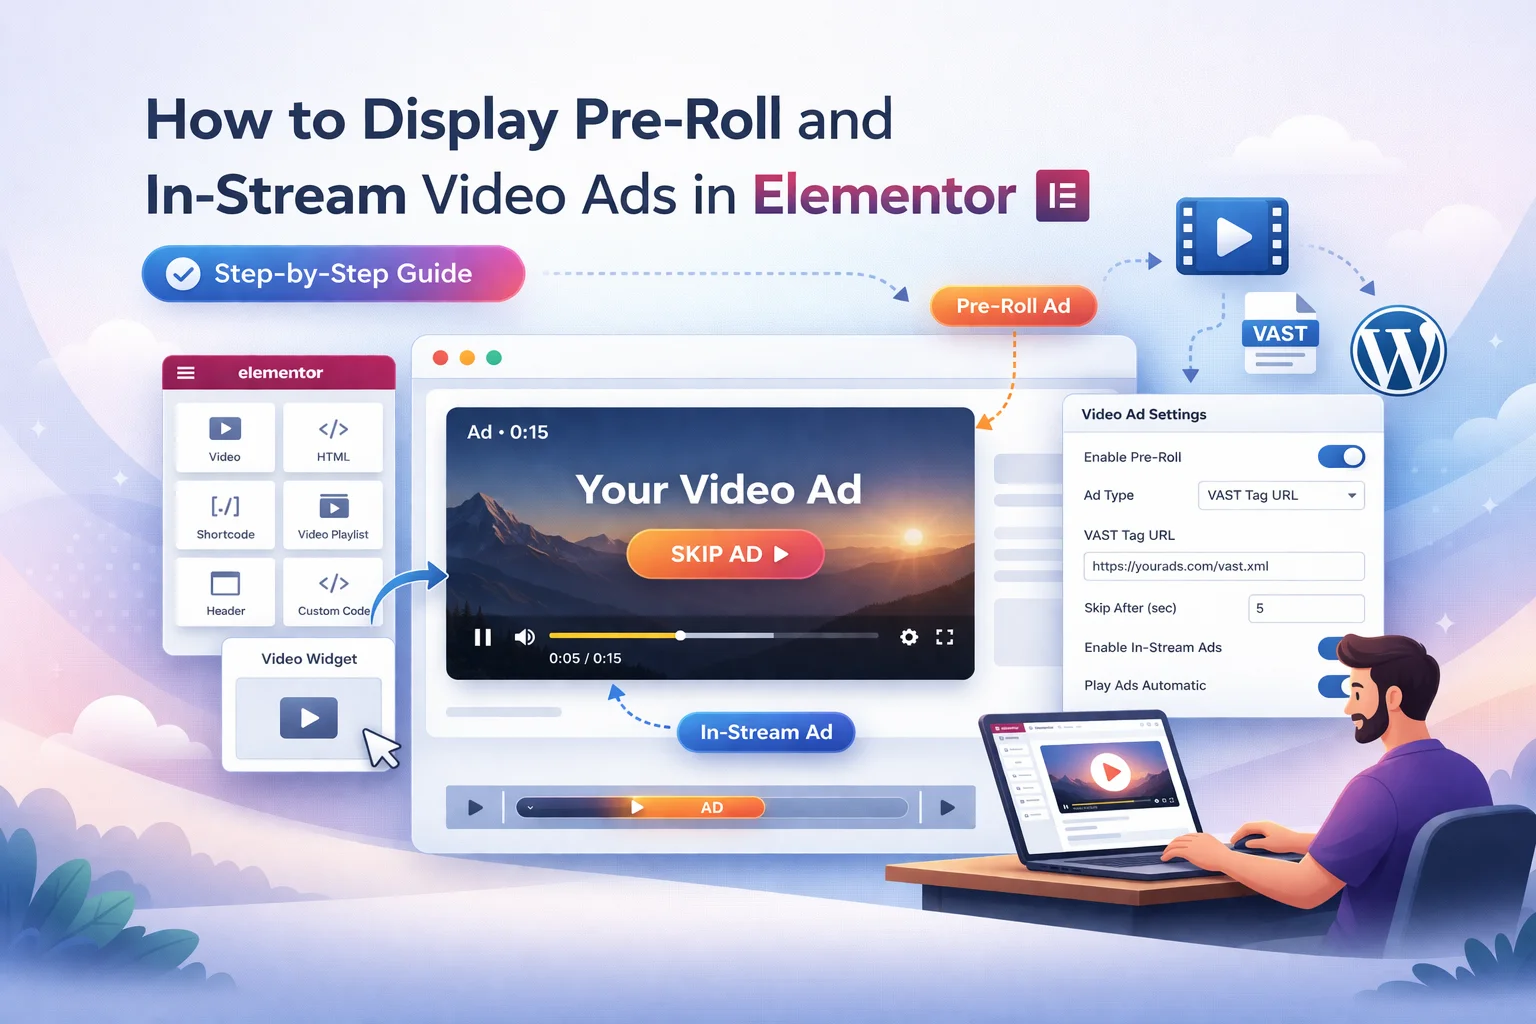
Pre-roll and in-stream are industry terms that sound more complicated than they are. A pre-roll ad is simply a short video that plays before your main content. An in-stream ad plays within the same video player as the content, making it feel like part of the viewing experience rather than a separate interruption. Both formats are standard across every major video platform, from YouTube to Hulu, and they consistently deliver the highest engagement and revenue rates in digital advertising.
The problem for WordPress site owners has been getting these formats onto their own sites. The typical path involves ad servers, VAST/VPAID tag integration, custom video players, and a level of technical complexity that requires developer involvement. If you use Elementor as your page builder, this complexity is even more frustrating because you chose Elementor specifically so you could build visually without writing code.
This tutorial eliminates that complexity. We are going to walk through setting up both pre-roll and in-stream video ads directly inside the Elementor Video widget, step by step, with screenshots showing exactly where every setting lives. By the end of this guide, you will have working video ads on your site that you configured entirely from the Elementor editor and WordPress admin, no code and no ad server subscription required.
Before we open the editor, let us clarify these terms because the video advertising industry uses them in overlapping ways that can be confusing.
An ad video that plays before the main content. The viewer clicks play expecting to watch your video, and the ad appears first. After the ad finishes or is skipped, the main video starts automatically. This is the most common video ad format on the web and the one most users are familiar with from platforms like YouTube. It captures attention at the moment of highest intent.
A broader term that refers to any video ad that plays within a video player alongside content. Pre-roll is a type of in-stream ad (it plays in the stream, just before the content). Mid-roll (during content) and post-roll (after content) are also in-stream formats. When people say “in-stream” in the context of WordPress, they typically mean the ad plays within the same player as the main video, creating a seamless viewing flow.
For the purposes of this tutorial, we are focused on the pre-roll variant of in-stream advertising because it is the format that the Elementor Video Ads plugin supports and the one that delivers the strongest results for WordPress publishers. The ad plays before the main video, inside the same player, within the same Elementor widget. To the viewer, it feels like a single, continuous experience.
If you are coming from a background of working with traditional ad servers, you might be wondering about VAST and VPAID tags. Those are standardized protocols for delivering video ads from external ad networks. The approach we are using here is different: you provide the ad video directly (self-hosted or from YouTube/Vimeo), and the plugin handles the playback, timing, and user interaction natively. This is simpler, faster, and gives you complete control over the ad experience.
Navigate to any page in your WordPress site that has an Elementor Video widget, or create a new one. The Video widget is the standard widget that ships with both the free and Pro versions of Elementor. It supports YouTube, Vimeo, Dailymotion, and self-hosted video sources.
Click on the Video widget to select it. In the left panel, you will see the Content tab with the standard Video section. This is where your main video source and settings live. Scroll down past the Video section and you will see a new section called Video Ads. This section was added by the pre-roll video ads plugin for WordPress Elementor and contains all the controls for your ad video.
Notice how the ad settings are physically co-located with the video settings in the same panel. This is intentional. When your team needs to update an ad, they do not hunt through separate admin pages or shortcode libraries. They select the Video widget on the canvas and the ad controls are right there. If you manage multiple sites or have team members who update pages, this co-location reduces training time and eliminates the “where do I find the ad settings?” confusion.
In the Video Ads section, toggle the enable switch to activate video advertising for this widget. Once enabled, the configuration fields expand and you can start setting up your ad.
Choose how you want to provide the ad video. You can upload a video file directly to your WordPress media library and select it as a self-hosted source, which gives you maximum control and avoids any dependency on external platforms. Alternatively, you can paste a YouTube or Vimeo URL if your ad creative is hosted there. For direct sponsorship deals, self-hosted is almost always the better choice because you control the hosting, the creative is not subject to platform content policies, and loading from your own domain makes the ad harder for ad blockers to identify.
The skip timer defines how many seconds the viewer must watch the ad before a skip button appears. This is the same mechanic YouTube uses: the ad starts playing, a countdown appears, and after the configured duration the viewer can choose to skip or continue watching. For most WordPress content, 5 seconds is the sweet spot. It gives the advertiser enough time to deliver an opening hook while showing the viewer that you respect their time. For premium sponsor placements, 10 to 15 seconds is reasonable if the ad creative is genuinely engaging.
The visit action creates a clickable button during ad playback that sends the viewer to a URL you define. This is your call-to-action: a product page, a landing page, a sign-up form, or any destination that makes sense for the campaign. You can configure when the visit button appears and whether the target link opens in a new tab or the same window. For most campaigns, opening in a new tab is preferred because it preserves the viewer’s position on your page.
Once your ad is configured, the in-stream playback flow works as follows. The viewer arrives on your page and sees the Elementor Video widget with the standard play button or thumbnail. They click play. Instead of the main video starting immediately, the ad video begins playing. The skip timer counts down in the corner. When the timer completes, a skip button appears. The viewer can either watch the full ad or skip to the main content.
If the visitor clicks the visit action button during the ad, the target link opens (in a new tab by default) and the ad continues playing. If the visitor skips or the ad finishes naturally, the main video starts automatically without any additional clicks required. The entire experience happens inside the same video player element, which is why it qualifies as in-stream: the ad is part of the stream, not a separate overlay or popup.
This seamless flow is what makes pre-roll in-stream ads feel professional rather than intrusive. Compare it to alternatives like popup video ads that float over the page or outstream ads that auto-play in random positions as you scroll. Those formats disrupt the user’s chosen activity. In-stream pre-roll ads work within the activity the user already chose: watching a video. That alignment of intent is what makes them both more effective for advertisers and more tolerable for viewers.
Setting up pre-roll ads one widget at a time is fine for a handful of pages. But if you want the same in-stream ad experience across your entire site, perhaps for a monthly sponsor deal or an ongoing self-promotion campaign, you need centralized control.
In your WordPress admin, go to the NEXU WP menu and open the Video Ads settings. The General tab lets you configure a global ad video that applies to every Elementor Video widget on your site automatically. You can set exclusion rules for specific pages or post types where the global ad should not appear, which is critical for maintaining a good experience on support pages, checkout flows, or premium content where ads would be inappropriate.
The layering system here is important to understand. Global settings provide the default behavior. If a specific Video widget has its own ad configuration at the widget level, that widget-level setting takes priority. This means you can run a global sponsor campaign while simultaneously running a different, dedicated sponsor on your highest-traffic page. The two levels coexist without conflict.
For agencies managing client sites, this layering is especially valuable. You can sell a site-wide sponsorship tier and a premium per-page sponsorship tier to different advertisers. The global settings handle the site-wide campaign, and the per-widget overrides handle the premium placements. Both run simultaneously without any additional code or configuration gymnastics.
After your in-stream ads are live, you need data. The plugin includes a Statistics tab in the WordPress admin that records ad activity across your site. This is your operational dashboard for understanding how your video ads are actually performing.
Here is how to read the data and act on it. Impressions tell you how many times your ad was shown. If this number is significantly lower than your page views for pages with video widgets, it means visitors are not clicking play on your videos. That is a content problem, not an ad problem. Interactions tell you how many viewers engaged with the visit action. Skip rate tells you what percentage of viewers skipped the ad versus watching it to completion.
Your ad creative is not holding attention past the skip window. This does not necessarily mean you should increase the skip timer. Instead, focus on the first 3 seconds of your ad: do they present a compelling visual or message that makes the viewer curious to see more? The strongest pre-roll ads deliver their hook within the first 2 seconds. Consider also whether the ad is relevant to the content on the page. An irrelevant ad will always get skipped faster.
The call-to-action in your ad is not compelling enough, or the destination does not match what the viewer expects. Review both the visual CTA in the ad video and the target URL. If the ad promotes a product but the link goes to a generic homepage, the disconnect kills clicks. The target link should land on a page that directly continues the promise made in the ad creative.
If more than 40 percent of viewers watch your entire ad without skipping, your creative is working well for this audience. This is an excellent data point for sponsorship sales. Advertisers understand completion rate as a measure of genuine engagement, and a rate above 40 percent positions your inventory as premium. Document this metric and share it with current and potential sponsors.
These are the questions that come up most frequently when WordPress site owners start implementing in-stream video ads for the first time.
It works with all video sources that the Elementor Video widget supports: YouTube, Vimeo, Dailymotion, and self-hosted files. The ad video source is configured separately from the main video source, so you can mix formats. For example, your main video can be a YouTube embed while your ad video is a self-hosted MP4. The plugin handles the transition between the two sources automatically.
No. The ad video does not load until the viewer clicks play on the video widget. There is no pre-loading of the ad creative during initial page render. This means the ad has zero impact on your Core Web Vitals scores, which is a significant advantage over banner ad scripts that load dozens of resources on page load.
Yes. Each Video widget can have its own ad configuration, and per-widget settings override global settings. You can run a global campaign for most pages and a custom ad on specific high-value pages. This is exactly how professional publishers sell tiered sponsorship packages: site-wide placements at one rate and premium per-page placements at a higher rate.
Yes. The plugin’s ad playback, skip button, and visit action are all designed to work with touch interactions on mobile browsers. The responsive behavior inherits from the Elementor Video widget itself, so the video player scales to the viewport and the ad controls remain accessible on smaller screens. Always test on actual mobile devices after configuring your ads to verify that touch targets are comfortable.
Pre-roll and in-stream video ads are not new concepts. They are the backbone of video advertising across every major platform. What is new is the ability to implement them on your own WordPress site without ad servers, VAST tag debugging, or developer involvement. The Elementor Video widget already handles video playback. The video ads plugin for Elementor with skip controls and campaign analytics adds the ad layer on top of it in a way that feels native to the builder.
If you have been hesitant about video advertising because the technical setup seemed too complex, this tutorial should put that concern to rest. The setup is genuinely straightforward. The harder question is not how to implement video ads, but how to use them thoughtfully so they generate revenue without degrading the experience your visitors came for. That balance is an ongoing editorial judgment, and the data from the statistics dashboard is the tool that informs it.
Pre-roll ads that play inside the Elementor Video widget. Configurable skip timing, visit actions with target links, global campaigns, and built-in performance tracking.








Finally got the ads running smooth no more breaking my site
Finally got the stats dashboard up and running this thing actually shows me which ads are converting! no more guessing games. Took me all of 5 minutes to set up.
So I run a travel blog and grabbed this thinking it'd finally let me monetize my videos without needing to hire a dev. nope. my hosting company won't lift a finger because apparently, it's "custom code" now? Three hours in, and I'm just stuck.