
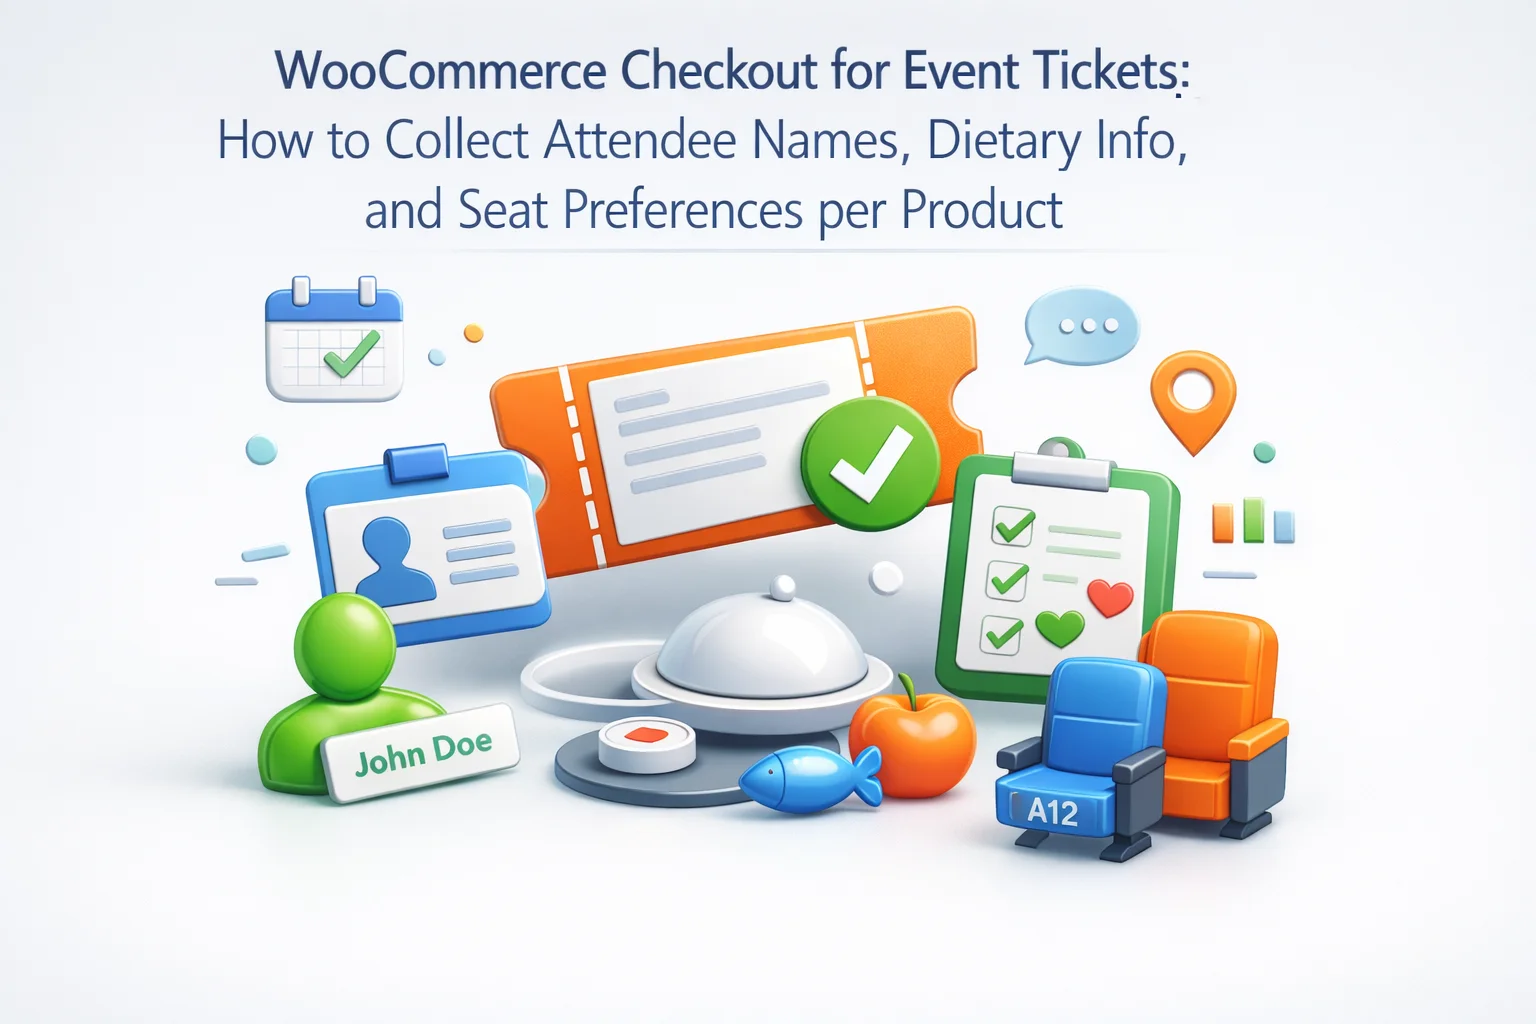
WooCommerce is a capable foundation for event ticket sales — it handles payment processing, order management, downloadable ticket delivery, and product catalog management without requiring a dedicated event plugin for basic scenarios. But there is a gap that creates significant operational friction for event organisers: WooCommerce’s default checkout has no mechanism for collecting attendee-specific information. The person buying the ticket provides their own name and email, but the attendees — who may be entirely different people — are invisible to the organiser until they arrive at the door.
For a single-attendee event where the buyer and the attendee are the same person, this is not a significant problem. But for corporate event bookings, group ticket purchases, conferences where attendee badges need pre-printing, dinners where dietary requirements must be catered for, or seated events where seat allocation happens in advance — the absence of attendee information at checkout creates a cascade of follow-up work: emails asking for names, separate spreadsheets to track dietary requirements, manual seat allocation processes, last-minute dietary accommodations that cost more and deliver less.
The solution is per-product checkout fields configured specifically for each ticket type — fields that appear at checkout when the relevant ticket is in the cart and collect exactly what that event needs to know about each attendee. This guide shows you how to build that system using the NEXU Advanced Checkout Field Editor for WooCommerce event ticket customization, covering field configuration, attendee data architecture, practical examples for different event types, and how the collected information flows through to your event management workflow.
The goal is a checkout experience that feels professional and complete to your ticket buyers while giving your event team everything they need — before the event, not on the morning of.
The operational cost of missing attendee information
Event organisers who sell tickets through WooCommerce without per-ticket attendee fields consistently describe the same problems in the weeks leading up to their events. Understanding these problems makes it easier to design a checkout field configuration that eliminates them completely.
Two weeks before the event, the organiser sends an email to all ticket purchasers asking for attendee names and dietary requirements. Response rate is typically 60-70%. A week later, a reminder goes to the non-responders. Still some missing. Three days before the event, another follow-up. The morning of, the catering order is still based on incomplete information. The name badges for two people are wrong because they were entered manually from email responses and there was a typo. This entire workflow — hours of organiser time and days of stress — is eliminated by collecting the information at checkout.
Without structured checkout fields, attendee information arrives through multiple channels — email responses, phone calls, reply-to forms, order notes — and gets manually consolidated into a spreadsheet that is perpetually out of date and not linked to the payment and order record. When a ticket purchaser contacts support about their booking, the support person has to check both the WooCommerce order and the attendee spreadsheet to get a complete picture. Structural checkout fields put everything in the order record from the start.
At a catered dinner or conference with meals, dietary requirements that arrive late or are missed entirely create real problems — guests without suitable food options, last-minute catering changes that carry premium costs, and in allergy cases, genuine safety risks. A structured dietary requirement field at ticket checkout collects this information while the purchase intent is highest and the buyer has the motivation to provide it accurately and completely.
Conferences and professional events that print name badges in advance or allocate seats before the event cannot complete those tasks until they have the attendee data. When that data arrives by email in dribs and drabs up to the week before, the badge printing timeline is compressed, mistakes are rushed, and the production quality reflects the chaos of the data collection process. Checkout fields mean badge-ready data from the moment the ticket is sold.
Understanding per-product fields for event tickets
The key concept that makes event ticket checkout fields work well in WooCommerce is per-product configuration. Rather than adding attendee fields to the global checkout — where they would appear for every order regardless of whether a ticket is being purchased — you configure attendee fields directly on each ticket product. Those fields appear at checkout only when the relevant ticket is in the cart.
This architecture has several practical advantages for event organisers. Different events require different information — a networking dinner needs dietary requirements, a workshop needs skill level and pre-existing knowledge, a concert does not need attendee names at all. Per-product fields let you configure the exact right field set for each event without creating a cluttered global checkout that asks every customer everything all the time.

It also means your WooCommerce store can sell tickets for multiple different events simultaneously, each with their own attendee field configuration, without any fields from one event bleeding into another. A customer buying a ticket to your annual conference and a ticket to a networking dinner in the same cart sees the conference attendee fields appear for the conference ticket and the dinner dietary requirement fields appear for the dinner ticket — each set of fields cleanly associated with the product it belongs to.
When a buyer purchases multiple tickets to the same event, the per-product field appears once per product — not once per quantity. This means a buyer purchasing 3 conference tickets sees one set of attendee fields, not three sets. The field collects information for the buyer themselves (or a primary attendee), but does not automatically create a separate field group for each ticket in a multi-quantity purchase. For events where every individual attendee needs their own separate field responses — a large corporate booking where all 10 attendees have different dietary requirements — this is a limitation to be aware of and to communicate to your buyers.
The complete event attendee information field set
Different events require different attendee information. Here is a complete reference of every field type useful for event ticket checkout configuration, with detailed guidance on when to use each one.
The most universally required event attendee field. The person attending the event is frequently different from the person making the payment. A PA booking a conference place for their manager, a parent purchasing a workshop ticket for their child, a team leader booking for a colleague — in all these cases the billing name is irrelevant to the event. Label: “Attendee full name.” Mark as required for any event where name-based check-in, badge printing, or seat allocation happens. Optional for events where ticket number alone is sufficient for entry.
If the attendee and the buyer are different people, the attendee needs to receive pre-event information, the venue address, and any communications that are relevant to them specifically rather than the ticket purchaser. An attendee email field — optional but encouraged — lets the event organiser send event-specific communications directly to the person attending, not just to whoever paid. Use conditional logic to show this field when the attendee name field is non-empty and differs from the buyer name, or simply always show it for events where attendee-specific communications are common.
For any event with catering — conference lunches, gala dinners, workshop breakfasts, networking drinks with food — dietary requirements are essential operational data. Use a multi-select checkbox field listing common dietary requirements: None / Vegetarian / Vegan / Gluten-free / Dairy-free / Halal / Kosher / Nut allergy / Other. Follow with an optional textarea for “Additional dietary information or allergies not listed.” The combination gives you structured data for catering planning (how many vegetarian meals to order) and a freetext safety valve for specific requirements that don’t fit the standard categories.
For events with pre-assigned or preference-based seating — conference dinners with round tables, theatre-style presentations, classroom-style workshops — a seat or seating area preference field helps organisers allocate seats thoughtfully. This is not a numbered seat selection system (which requires dedicated ticketing software) but a preference guide: Front / Middle / Back (for theatre-style), Near the stage / Near the back / Near the exit, Window / Aisle / Middle (for aircraft-style conference rooms), or Table preference for gala dinners with multiple table themes. Present as a dropdown with clearly labelled options and mark as optional — it is a preference, not a guarantee.
Accessibility requirements should be collected for any event where the venue or format may present accessibility considerations. A multi-select checkbox field covering: Wheelchair access required / Step-free access required / Hearing loop required / Large print materials required / Seating near exit required / Support worker/carer accompanying / Other. An optional textarea for detail: “Please share any additional accessibility needs or information that will help us support your attendance.” This field demonstrates professional event management practice and gives your team the information needed to ensure every attendee can participate fully.
For professional conferences, industry events, networking dinners, and trade shows, the attendee’s company name is often as important as their personal name — it goes on the badge, it appears in the attendee list, and it enables the networking that is a primary reason people attend. Make this field optional for consumer events, required for professional events where the attendee list or seating plan will include organisation names. The company name at the event-level can differ from the billing company name — someone booking as a freelance consultant might list their client’s company for the event itself.
For workshops, masterclasses, training sessions, or skill-based events where the content is pitched at a specific experience level, a self-declared experience level helps facilitators calibrate their delivery and helps event organisers communicate expectations. Dropdown options might be: Complete beginner / Some experience / Intermediate / Advanced / Professional. For workshops with specific pre-requirements, this can be paired with a checkbox confirming they have read the prerequisites: “I confirm I have the prerequisite knowledge or skills listed in the event description.”
Some events require participants to submit work in advance — a portfolio for an art critique session, a brief for a workshop exercise, a performance piece for an audition event, a business plan for a startup pitch event. A file upload field at checkout collects this submission at the moment of ticket purchase, when the attendee is most engaged and has the file accessible to them. This eliminates the pre-event submission chase and ensures every participant has contributed what is needed before the event date.
Step-by-step: configuring per-ticket attendee fields
Here is the complete configuration process for adding per-product attendee fields to a WooCommerce event ticket product using the NEXU Advanced Checkout Field Editor.

Navigate to Products in your WordPress admin and open the ticket product for your event. Scroll down to the Product Data panel. The NEXU Checkout Field Editor adds a “Checkout Fields” tab here. Click it to access the per-product field configuration for this specific ticket. Everything you configure here will only appear at checkout when this product is in the cart — not for any other product or ticket type.
Click Add Field. Select Text as the field type. Label: “Attendee full name.” Placeholder: “First and last name of the person attending.” Mark as required if your event uses name-based check-in or badge printing. Add helper text if relevant: “This should be the name of the person who will actually attend, which may be different from your own name.” Save this field before creating the next one.
For professional events only: Add a Text field. Label: “Company or organisation name.” Mark as optional or required depending on your event format. Placeholder: “Your company name (will appear on your badge).” Skip this field for consumer events where organisation affiliation is not relevant.
For catered events: Create a multi-select Checkbox field. Label: “Dietary requirements.” Options: None / Vegetarian / Vegan / Gluten-free / Dairy-free / Halal / Kosher / Nut allergy / Other. Mark as optional. Follow with an optional Textarea: Label “Additional dietary information” with placeholder “Please describe any other dietary requirements or allergies.” Include the severe allergy safety note in helper text.
Add the accessibility requirements multi-select checkbox field as described in the field reference above. For seated events: add a Dropdown field for seating preference. Both should be optional. If your event has specific session selections — morning vs afternoon workshops, breakout stream choices — add a Dropdown for session selection and mark it required. Each field you add here appears in this sequence below the attendee name at checkout.
Save or update the product. In an incognito browser, add the ticket to your cart and proceed to checkout. Confirm all configured fields appear in the correct order. Test with a different product in an empty cart to confirm the fields do not appear for non-ticket products. Place a test order with test values in each field and verify the field values appear correctly in the WooCommerce order admin.
Event-specific field configurations: five real-world templates
Different event types have different information requirements. Here are five detailed field configuration templates for the most common WooCommerce event ticket scenarios.
How attendee data flows to your event management workflow
Collecting attendee information at checkout is only valuable if it reaches the people who need it in a usable format. Here is how data collected through checkout fields moves through WooCommerce to your event preparation workflow.

Each order in your WooCommerce admin displays all per-product field values alongside the standard order details. For a conference ticket order, the admin panel shows the attendee’s name, their company, their dietary requirements, their seating preference — everything needed for event preparation — directly in the order record. Your event coordinator can open any order and immediately see the complete attendee picture without cross-referencing any other system.
For events where you need to compile data across all attendees — generating a dietary requirements summary for the caterer, building a seating plan, printing badges — you will need to export your order data. WooCommerce’s built-in order export includes custom field metadata, meaning your attendee data exports alongside the standard order information. You can filter and sort this export in a spreadsheet to generate the catering list, the badge names list, the accessibility requirements list, or any other attendee-specific document your event team needs.
Export your WooCommerce orders, filtered by the ticket product, to a CSV. Your custom attendee fields appear as columns in the export. In your spreadsheet application, you can sort by dietary requirements to build the catering brief, filter by accessibility requirements to send the list to your venue coordinator, alphabetise attendee names for badge printing, and group by seat preference for your seating planner. All the pre-event preparation data is in one export from the order system — not distributed across email inboxes and manually-compiled spreadsheets.
Managing multiple events and ticket types in one WooCommerce store
One of the most practical advantages of per-product field configuration for event organisers who run multiple events is the ability to manage completely different attendee field sets for each event from a single WooCommerce installation, without any configuration overlap or cross-contamination.
Your annual conference ticket product has its own set of attendee fields — name, company, dietary requirements, T-shirt size. Your quarterly networking dinner ticket product has a different set — name, dietary requirements, seating preference. Your weekend workshop has another — name, experience level, goals for the workshop. Each product carries its own checkout fields, entirely independently.
When a customer purchases tickets to multiple events in a single checkout session — say, both the conference and the dinner — they see the conference fields for the conference ticket and the dinner fields for the dinner ticket, presented sequentially in the checkout. Every field is clearly associated with the event it belongs to, and the order record captures both sets of attendee data linked to their respective ticket products.
For recurring events — annual conferences, regular workshop series — you can replicate the product and its associated field configuration quickly using WooCommerce’s product duplication feature. The per-product checkout fields attached to the original product duplicate along with it, giving you a starting point for the new event’s field configuration without rebuilding from scratch. The NEXU WooCommerce checkout field editor for event ticket products makes this setup genuinely practical for event organisers who run their ticketing through WooCommerce.
WooCommerce Blocks checkout compatibility for event ticket fields
For event organisers whose WooCommerce store uses the block-based checkout — which is the default for newer WooCommerce installations — the per-product attendee fields configured in the NEXU Advanced Checkout Field Editor work correctly in the Blocks checkout environment. Required field validation, conditional logic where applicable, and order data saving all function correctly in both the classic shortcode checkout and the WooCommerce Blocks checkout.

This compatibility is particularly important for event organising operations that are setting up new WooCommerce installations — which will default to the Blocks checkout — and for established stores that are planning or in the process of migrating to Blocks. Your attendee information collection setup will work correctly on either checkout version, and migrating between them will not disrupt your event ticketing workflow.
Collecting attendee information at checkout is one of the most impactful operational improvements an event organiser selling through WooCommerce can make. The pre-event data collection process that previously occupied days of follow-up work compresses into a few seconds of checkout form completion by each ticket buyer. The information is structured, linked to orders, exportable for event preparation, and immediately available to everyone on your team without hunting through email threads. The event runs more smoothly because everyone involved — the caterer, the venue coordinator, the badge printer, the facilitator — has what they need before the event date, not on the morning of.
Collect every piece of attendee information at checkout — no pre-event email chasing required
NEXU Advanced Checkout Field Editor gives you per-product field configuration that attaches attendee-specific fields directly to each ticket product — name, dietary requirements, accessibility needs, seat preferences, experience level, and more — all linked to the order from the moment of purchase.





Finally a solution that keeps attendee details with the order no more last minute email chaos for dietary
As a paramedic who sometimes helps organize training events, I grabbed this plugin last minute to handle attendee names for our big annual conference. Getting it set up was pretty straightforward once I actually read through the guide, and it does fix our biggest headache no more last minute scrambling to match up buyers with the right attendees at check in. the only hiccup was the dropdown for seat preferences feeling a little clunky when you've got 50+ tickets in one order
Hey, this actually fixed my group ticket mess!
Finally got attendee details before the event! No more last minute chaos