Next-Level Code. Nexuvibe Style ...
Hrs
Min
Sec

Running food delivery through WooCommerce is increasingly common — from independent restaurants taking direct orders to meal kit services, specialty food producers, and local grocery delivery businesses that want to bypass third-party platform fees and own their customer relationships. WooCommerce is flexible enough to handle it. The standard checkout form, however, was not designed with food delivery in mind, and the gap between what the default form collects and what a food delivery operation actually needs is significant enough to cause real operational problems.
A delivery driver who arrives at a gated apartment complex and cannot get past the entrance because the order has no access code. A kitchen that starts preparing a Sunday lunch order for immediate delivery when the customer wanted it for 6pm that evening. A customer with a severe nut allergy whose dietary restriction was never communicated because there was no field to collect it. These are not edge cases — they are routine failures that happen every day on food ordering systems that use an unmodified WooCommerce checkout.
The solution is a checkout form built specifically for how food delivery actually works — with delivery time slots, gate and access codes, drop-off instructions, dietary requirements, allergy alerts, and contact preferences collected at the point of ordering. This guide walks through exactly which fields a food delivery WooCommerce store needs, how to configure them using the NEXU Advanced Checkout Field Editor for food delivery customization, and how to use conditional logic to make the checkout adapt intelligently to delivery versus collection orders.
Every field recommended in this guide serves a specific operational purpose. The goal is not a longer form — it is the right form, one that gives your team everything they need to execute perfect deliveries and your customers an ordering experience that matches what they expect from a professional food business.
The default WooCommerce checkout was designed for physical product e-commerce: someone orders, provides a shipping address, pays, and waits for a parcel. Food delivery operates on a completely different set of operational requirements. The timing is precise and time-sensitive. The delivery destination is often not just an address but a specific building location within that address. The product often requires the customer to be present. And the product itself may have specific attributes — dietary restrictions, allergen content — that need to be communicated before preparation begins, not after.
Without a delivery time slot field, your kitchen and dispatch team have to guess when each order should be ready. Customers assume the time they placed the order is the delivery target. Your team assumes ASAP. The result is orders prepared and dispatched when the customer is not home, food sitting cooling on doorsteps, and support calls about missed deliveries that were technically not missed — just mistimed. A time slot or requested delivery time field eliminates this ambiguity entirely.
A significant proportion of urban delivery addresses — apartment complexes, office buildings, gated communities, university campuses — require an access code, intercom number, or specific entry instructions to reach the delivery point. Without a field to collect this information, drivers arrive and call the customer (adding time, requiring the customer to interrupt their day), attempt to piggyback entry (security risk), or leave the order undelivered. Gate codes and access instructions saved to the order eliminate this friction entirely.
Food allergies are not a preference — they are a medical condition that can have life-threatening consequences. A customer with a severe tree nut allergy who has no field to communicate this at checkout is placing a genuinely dangerous order. Even if your kitchen takes every precaution, the absence of a mechanism for collecting and acting on allergy information represents a meaningful liability exposure. A clear, prominently positioned allergen/dietary requirement field is both a safety measure and a demonstration of professional food service standards.
Many customers — particularly post-pandemic — prefer contactless delivery: leave the order at the door, do not ring the bell, leave with a text notification. Without a drop-off preference field, drivers ring bells, knock on doors, and wait for signatures that nobody wants to give for a food delivery. A simple “Leave at door” versus “Hand to me directly” preference field, collected at checkout, removes the social friction and reduces delivery time per stop.
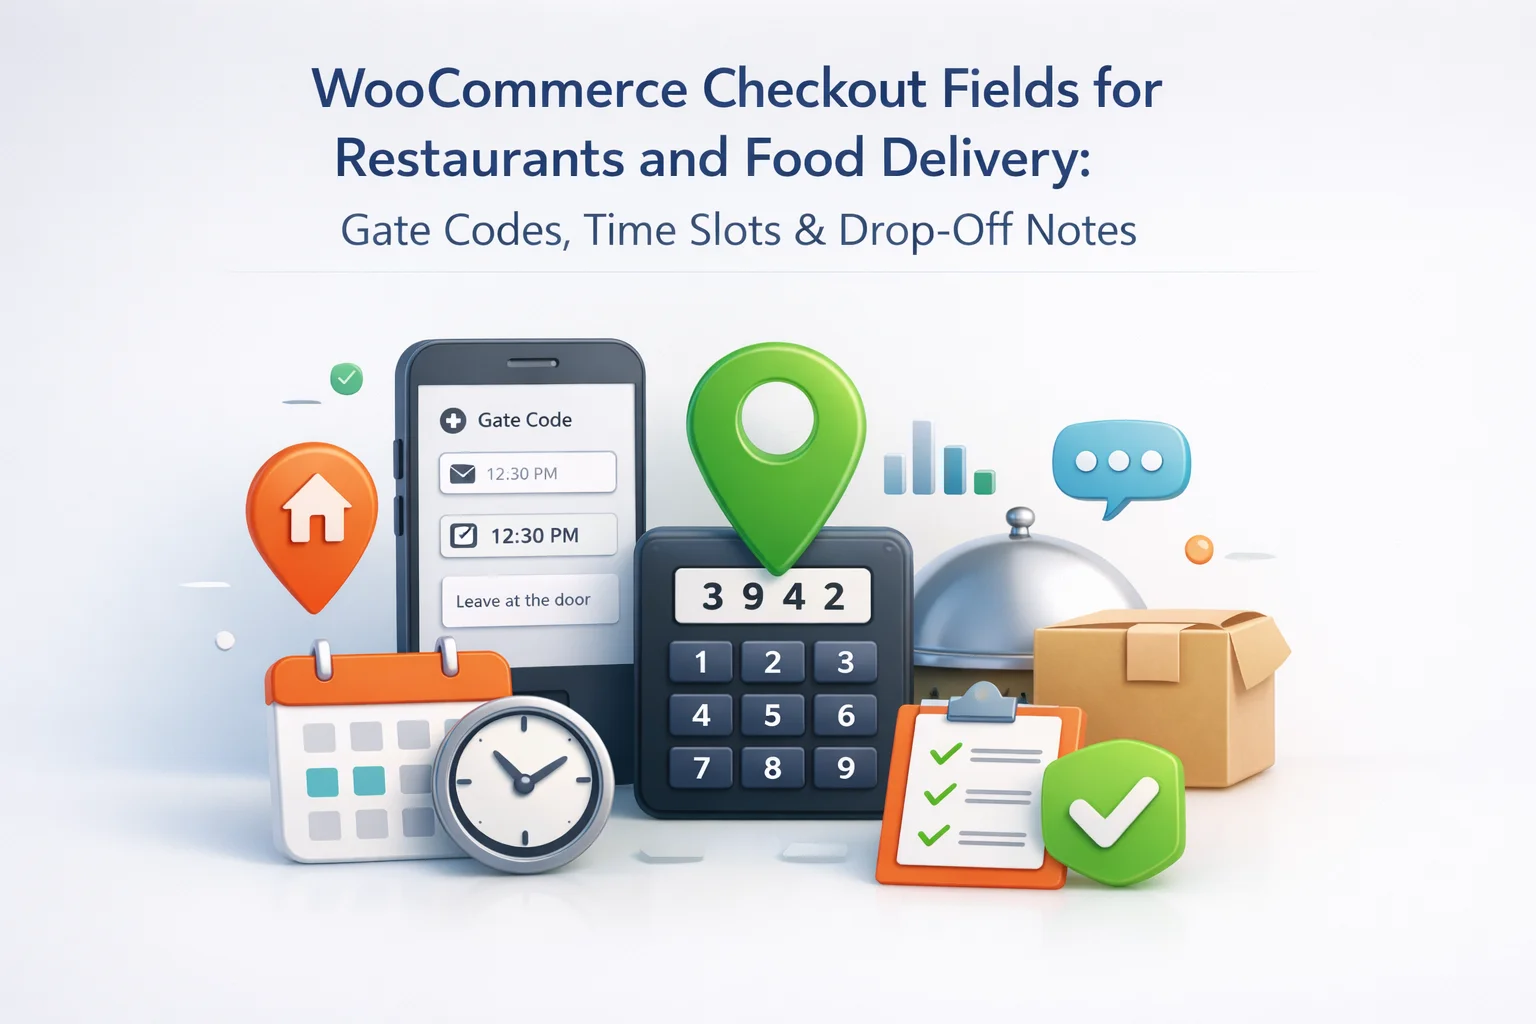
Here is a complete review of every custom checkout field a food delivery WooCommerce store should consider, what each one does operationally, and how to configure it. Not every field applies to every food business — use this as a reference to select and configure the fields relevant to your specific operation.
A date picker field for the requested delivery date. Configure a minimum date restriction of at least your preparation lead time — if you need 2 hours to prepare an order, set the minimum selectable date to today only if the current time is more than 2 hours before your last delivery slot, otherwise force selection from tomorrow. For meal kit and specialty food businesses with longer preparation times (batch cooking, cold-chain logistics), set the minimum to 2 or 3 days ahead. Restricting available dates to your actual delivery days (blocking out days you do not deliver) prevents orders being placed for days you cannot service.
A dropdown with your available delivery windows — not a free text field, which produces unstructured data your dispatch system cannot process. Common slot formats for restaurant delivery: 12:00–12:30, 12:30–13:00, 13:00–13:30 (tight 30-minute windows for hot food). For meal kit or specialty food: morning (8am–12pm), afternoon (12pm–5pm), evening (5pm–8pm). The slots you offer should match your delivery capacity — do not offer slots you cannot reliably fulfill. If a slot books up, you will need a separate mechanism (or a plugin that manages slot availability) to prevent overselling a particular window.
A text field for gate codes, building entry codes, intercom apartment numbers, or any access information a driver needs to reach the delivery address. Label this field specifically — “Gate or building access code (if applicable)” — so customers with standard street-level front doors understand they can leave it blank. Make this field optional. Customers who need it will fill it; customers who do not need it should not be required to interact with it. This single field eliminates a disproportionate share of failed delivery attempts in urban markets.
This is most effective as two fields working together. A dropdown with standard drop-off preferences — “Hand to me directly,” “Leave at front door,” “Leave with reception/concierge,” “Leave in a safe place” — captures the most common scenarios in a structured format that can be printed on the dispatch sheet or included in driver instructions. A secondary optional textarea for “Additional delivery notes” captures the edge cases: “Leave with the neighbour at number 12 if I am not in,” “Ring the side door bell not the front,” “Leave inside the porch.” Together these two fields handle almost every delivery instruction scenario.
This is the most safety-critical field on a food delivery checkout and warrants careful configuration. A multi-select checkbox field listing the 14 major allergens recognized under food labelling law (EU Regulation 1169/2011, UK Food Information Regulation) — peanuts, tree nuts, milk, eggs, wheat/gluten, soy, fish, shellfish, sesame, mustard, celery, lupin, sulphites, molluscs — gives customers a structured way to declare known allergens. Pair this with an open textarea for “Additional dietary requirements or allergy information not listed above” to catch less common requirements and preferences like low-FODMAP, low-sodium, or diabetic-friendly requests.
Separate from medical allergens, dietary preferences cover choices that affect which products from your menu are appropriate for a customer but are not typically safety-critical: vegetarian, vegan, halal, kosher, gluten-free (preference rather than coeliac requirement), dairy-free (preference), low-carb, and others relevant to your specific offering. A dropdown or multi-select checkbox with the preferences applicable to your menu helps customers self-select compatible options and helps your kitchen understand what accommodations are expected. This field is optional — not every customer has dietary preferences.
Unlike other e-commerce contexts where a phone number is often irrelevant and creates friction, food delivery genuinely requires a working phone number for the customer. Drivers need to be able to call or text when they arrive at a complex address, when they cannot locate the delivery point, or when a contactless drop-off has been completed. Rename the standard billing phone field to something explicit: “Contact number for delivery driver” makes the purpose clear and reduces customers entering a number that is not reachable during the delivery window.
For restaurants or food businesses offering click-and-collect alongside delivery, a collection time slot field is just as operationally critical as the delivery time slot. Kitchen teams need to know when to have each order ready — too early and the food sits cooling, too late and the customer waits. A dropdown with your collection windows, configured with conditional logic to show only when the “Local Pickup” shipping method is selected, keeps the checkout clean for delivery customers while giving collection customers the scheduling mechanism they need.
One of the most powerful aspects of conditional checkout fields for food businesses is the ability to show completely different field sets based on whether the customer selects delivery or collection at checkout. A delivery customer needs a time slot, a gate code field, drop-off instructions, and a driver contact number. A collection customer needs a pickup time, parking information if relevant, and possibly a name for the counter. Showing delivery fields to collection customers and vice versa adds confusion and clutter to both experiences.
The shipping method conditional trigger is the key mechanism here. In the NEXU Advanced Checkout Field Editor’s conditional logic builder, you set each field’s display rule based on the selected shipping method. Delivery-specific fields — date picker, time slot, gate code, drop-off instructions — are set to show when shipping method equals “Local Delivery.” Collection-specific fields — pickup time, counter name, parking note — are set to show when shipping method equals “Local Pickup.”
The customer experience is seamless. When a customer selects Delivery, the delivery fields appear instantly without a page reload. When they switch to Collection, those fields disappear and the collection fields appear instead. The checkout adapts in real time to exactly what each customer has chosen, and your order records contain precisely the information relevant to how each specific order will be fulfilled.
Here is the complete configuration sequence for building a food delivery checkout using the NEXU Advanced Checkout Field Editor. This implementation covers the core field set for a restaurant or food delivery business — date picker, time slot, gate code, drop-off instructions, and allergen field.
Create a new field, select Date Picker, label it “Requested Delivery Date,” mark as required. Set the minimum date to at least your lead time (use date offset settings). In the conditional logic panel, set: show when shipping method = “Local Delivery.”
Create a Dropdown field, label it “Preferred Delivery Window,” enter your time slots as dropdown options, mark as required. Conditional logic: show when shipping method = “Local Delivery.” This field will appear directly below the date picker, creating a logical date-then-time selection sequence for the customer.
Create a Text field, label “Gate or building access code (if applicable),” add placeholder text “e.g. #1234 or Ring flat 7,” leave as optional. Conditional logic: show when shipping method = “Local Delivery.” Being optional is critical here — making it required will cause frustration for customers at standard addresses.
Create a Dropdown with options: “Hand to me directly / Leave at front door / Leave with reception or concierge / Leave in a safe place.” Conditional logic: show when shipping method = “Local Delivery.” Follow with an optional Textarea field “Additional delivery notes” for supplementary instructions. Both conditional on Local Delivery.
Create a multi-select Checkbox field listing your relevant allergens. This field should have NO conditional logic — it shows for every order regardless of delivery method. Every customer ordering food should have the opportunity to declare allergies. Mark it as optional (customers without allergies should not be required to interact with it) but position it prominently. Follow with an optional Textarea “Other dietary requirements” for additional detail.
In the visual field builder, arrange your delivery fields in a sequence that mirrors the customer’s thinking: delivery date first, then time window, then access information, then drop-off preference. Allergen fields should appear after the delivery logistics but before payment — they are food-specific and feel natural in this position. Test the full checkout from the customer’s perspective — as both a delivery and a collection order — before going live.
Collecting the right information at checkout is only useful if it reaches the people who act on it. Understanding exactly how custom checkout field data flows through WooCommerce to your operational team is important for designing a workflow that actually works.
Every custom field value collected at checkout appears in the WooCommerce order details panel in your admin. Your kitchen or dispatch team opens an order and sees: the requested delivery date, the time slot, the gate code if provided, the drop-off preference, and any allergen flags — all in one view, all linked to the correct order. No separate emails, no phone calls to the customer, no hunting through notes. The order is self-contained from the moment it is placed.
The new order notification email sent to your restaurant’s admin address includes the same data. This means a kitchen manager receiving the email notification on their tablet can immediately see the delivery time, any allergen declarations, and any access information before even logging into the WooCommerce admin. For fast-paced food service environments where the admin interface is not always open, the email notification serves as the primary operational document for each order.
Different food business models have different checkout field requirements. Here are three ready-to-implement field group templates for the most common food delivery WooCommerce configurations.
Food allergen labelling and disclosure requirements for online food businesses are regulated in most markets and carry real penalties for non-compliance. In the UK, Natasha’s Law (the Food Information (Amendment) (England) Regulations 2021) significantly tightened allergen labelling requirements. In the EU, Regulation 1169/2011 mandates allergen information for food sold at a distance including online ordering. In the US, the Food Allergen Labeling and Consumer Protection Act (FALCPA) governs packaged food labelling, and the Food Safety Modernization Act has expanded reach.
The allergen field at checkout is one component of compliance — it collects information from the buyer. The other component is the information you provide to the buyer about the allergen content of your products. For online food businesses, this means your product pages should display allergen information clearly, and your checkout should provide a mechanism for customers to declare their allergies so your kitchen can act on that information.
According to guidance published by the UK Food Standards Agency, food businesses selling food online must provide allergen information before the purchase is concluded and at the point of delivery. A clearly labelled allergen field at checkout — combined with allergen information on your product pages — helps satisfy the pre-purchase disclosure requirement. Always consult with a food safety specialist or solicitor to confirm your specific compliance obligations.
The checkout allergen field also creates a record. When a customer declares a nut allergy at checkout, that declaration is stored in the WooCommerce order metadata. This means you have documented evidence that the customer’s allergy was communicated, when it was communicated, and for which order — creating a paper trail that is valuable both for quality management and in the event of any customer complaint or legal inquiry related to allergen handling.
Once your food delivery checkout field configuration is working correctly, export it using the NEXU Advanced Checkout Field Editor’s JSON export function. This export contains your complete field setup — all fields, all settings, all conditional logic rules — in a single file that can be reimported at any time.
For food businesses with multiple locations running separate WooCommerce installations, this export becomes a deployable template. Build your field configuration on one store, export it, and import it on the other locations — each gets the same checkout structure immediately. If you open a new location or bring a new WooCommerce installation online, your food delivery checkout configuration deploys in seconds rather than requiring a complete manual reconfiguration.
The NEXU Advanced WooCommerce checkout field editor for food and restaurant businesses provides every tool covered in this guide — date pickers, time slot dropdowns, text fields for access codes, multi-select allergen checkboxes, shipping method conditional logic, and import/export for configuration management — all without requiring code changes to your WooCommerce installation. For a food delivery business, getting the checkout right is not a cosmetic improvement. It is a direct investment in operational efficiency, food safety compliance, and the customer experience that drives repeat orders.
NEXU Advanced Checkout Field Editor gives you date pickers, time slot dropdowns, gate code fields, allergen checkboxes, and shipping-method conditional logic — everything a food delivery or restaurant WooCommerce store needs to capture perfect orders every time.







Hey wish this mentioned the slot overselling issue.
I was really hoping this would fix our delivery headaches, but the gate code field is pretty much useless.
Just wanted to say this plugin saved us a ton of headaches with deliveries. we run a small meal prep service, and before this, our drivers were constantly getting stuck at gated communities because customers forgot to include gate codes. now we've got a dedicated field for it right at checkout no more frantic calls mid delivery.
Finally found a solution that actually works for meal prep businesses! The date picker field lets customers select delivery dates days in advance, which is perfect for batch cooking schedules. no more last minute orders throwing off our kitchen's workflow. setup took 10 minutes with the guide in the settings header just wish I'd found this sooner. still testing the allergy notes field, but so far so good