Next-Level Code. Nexuvibe Style ...
Hrs
Min
Sec

Building the right WooCommerce checkout experience takes real effort. Deciding which fields to include, configuring conditional logic, setting up per-product fields, testing every cart scenario, refining the field labels and helper text — it is meaningful work that results in a checkout form that genuinely serves your store’s operational needs. The last thing you want to do is repeat all of it from scratch every time you need to deploy the same configuration to a different environment, rebuild after a site migration, or roll out a consistent setup across multiple client stores.
Yet that is exactly what most WordPress developers and store owners end up doing. They configure the checkout on staging, thoroughly test it, and then face the same configuration again field by field on production. Or they migrate a site and discover that the checkout field configuration did not survive the migration intact. Or they spend a morning configuring a new client store’s checkout only to realize they need to do the same thing again for the next client next week.
The NEXU Advanced Checkout Field Editor solves this with a JSON-based WooCommerce checkout field configuration export and import system that makes transferring, backing up, and deploying checkout configurations a matter of a few clicks. This guide covers everything about how it works, when to use it, and how to build it into a professional deployment workflow.
Whether you are a solo store owner who wants a reliable backup of your checkout configuration, a developer deploying from staging to production, or an agency managing WooCommerce stores at scale, the workflows in this guide will save you significant time and eliminate a common source of inconsistency and error in WooCommerce deployments.
Standard WordPress migration workflows — duplicating databases, using tools like Duplicator or All-in-One WP Migration — do move plugin settings between environments, but they bring everything along with them: posts, orders, customers, media, and site-specific configuration that does not belong on a different environment. Using a full site migration to transfer a checkout field configuration is like moving house to get your cutlery to a friend’s place. The right tool for moving specific plugin configuration is a dedicated export and import function built into the plugin itself.
There is also a structural reason why checkout field configurations need careful transfer rather than database copying. The configuration references field keys, conditional logic rule identifiers, and per-product field associations. If these references are inconsistent between environments — for example, because product IDs differ between staging and production — a simple database copy can produce configurations that appear intact but reference the wrong products or contain broken conditional rules.
The most common use case. You build and test your checkout configuration on staging, then need to deploy exactly that configuration to the live store. Without an export/import workflow, you manually recreate every field on production with all the attendant risk of transcription errors. With it, the tested staging configuration arrives on production in seconds.
Before making significant changes to a working checkout configuration — adding new conditional logic, restructuring field groups, adding new per-product fields to multiple products — export the current configuration first. If the changes produce unexpected behavior, you have a clean baseline to restore from instantly rather than trying to reconstruct what you had before.
Agencies building multiple WooCommerce stores can develop and maintain a library of checkout field configuration templates — one for food delivery stores, one for print-on-demand stores, one for digital product stores, one for mixed catalogs. Each client gets the appropriate template imported as a starting point, reducing initial configuration time from hours to minutes.
Plugin updates, hosting migrations, and site rebuilds can sometimes corrupt or lose plugin configuration data. A regular export of your checkout field configuration — stored in version control or a simple backup folder — means your checkout setup is recoverable even if the plugin’s stored settings are lost or corrupted during a site incident.
The export produced by the NEXU Advanced Checkout Field Editor is a structured JSON file. Understanding what it captures helps you know exactly what will and will not transfer between environments.
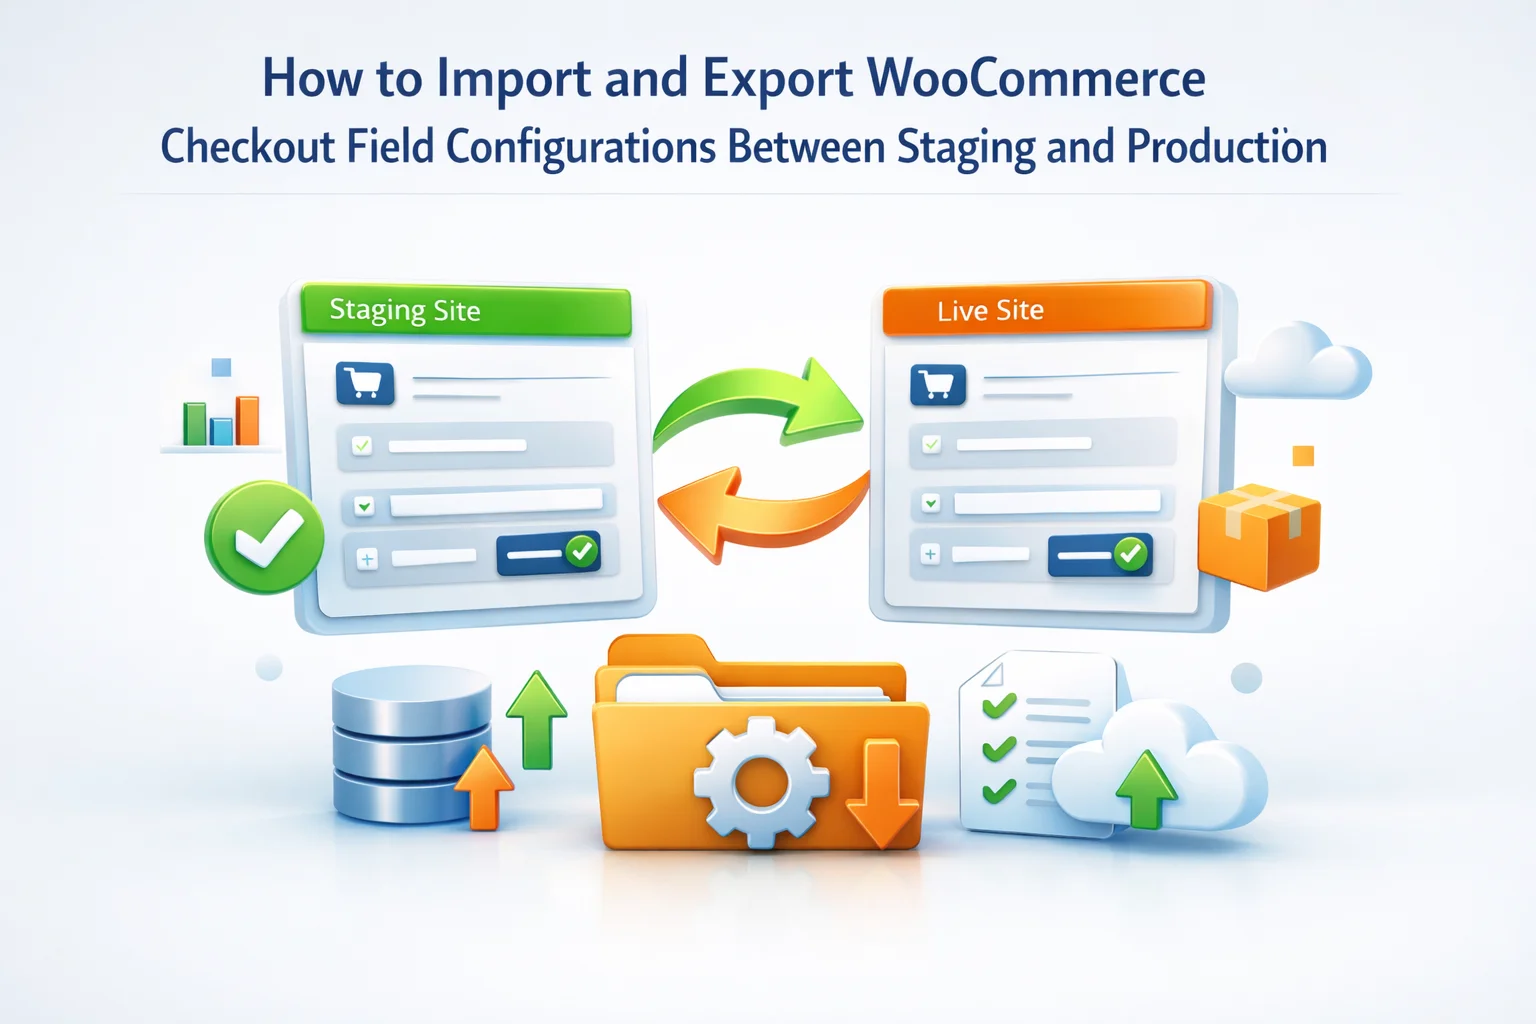
Here is the complete workflow for transferring a checkout field configuration from your staging environment to production. The process is the same for any source-to-destination transfer — staging to production, production to staging, or any other pair of environments.
Before exporting, confirm that the staging configuration is in its final, intended state. Run through your standard test protocol: verify all fields render, required validation works, conditional logic triggers correctly, and order data saves properly for each cart scenario relevant to your store. Exporting an untested or partially-configured state to production defeats the purpose of staging. The export should represent a known-good configuration.
In your staging WordPress admin, navigate to the NEXU Checkout Field Editor settings. Find the Import/Export section — typically in the plugin’s settings panel or a dedicated tab. Click the Export button. The plugin generates a JSON file containing the complete configuration and downloads it to your browser. Save this file somewhere accessible — a project folder, a git repository, a shared team drive — with a clear filename that indicates the date and environment, for example: checkout-fields-staging-2026-04-15.json
Before importing anything to production, export the current production checkout configuration and save it separately. This is your rollback file — if anything goes wrong during or after the import, you can restore the pre-import state immediately by re-importing this backup. Never import to production without first exporting what is already there. Name this file clearly: checkout-fields-production-backup-2026-04-15.json
In your production WordPress admin, navigate to the NEXU Checkout Field Editor settings and find the Import section. Click Choose File (or the equivalent), select the JSON file you exported from staging, and click Import. The plugin processes the file, overwrites the current configuration with the imported one, and confirms the import was successful. The entire process takes a few seconds. Your production checkout immediately reflects the staging configuration.
After importing, open the production checkout page in an incognito browser window and verify the configuration is working correctly. Use the post-import verification checklist provided later in this guide. Do not assume the import worked correctly because the plugin reported success — always verify the actual checkout behavior before considering the deployment complete.
Alongside the import and export functions, the NEXU Advanced Checkout Field Editor includes a one-click reset feature that restores the WooCommerce checkout fields to their original default state — the same fields and configuration that WooCommerce installs out of the box. Understanding when to use this and how it interacts with the import/export workflow is important.
If you are importing a configuration that represents a significantly different setup from what is currently on the destination environment, resetting to defaults first can prevent confusion about which fields are from the old configuration and which are from the new import. Reset first, then import, and the result is the imported configuration without any legacy fields that were not replaced by the import.
If you have been experimenting with conditional logic or field configurations and reached a state where things are not working as expected and you are not sure what the correct state should be, resetting to defaults gives you a clean slate to rebuild from. After resetting, import your last known-good backup export to restore the working state.
The reset function returns the plugin to its default state — it does not ask for confirmation beyond the initial prompt, and it is not reversible without a backup. Always export your current configuration before using the reset feature on any environment, but especially on production. A live store with a reset checkout configuration is showing customers the default WooCommerce form rather than your custom setup. The impact is immediate and customer-facing.
For agencies and freelancers who build multiple WooCommerce stores, the import/export system is a significant time multiplier. Instead of configuring checkout fields from scratch for each new project, you build a library of template configurations for different store types and import the appropriate one as the starting point for each new client.
The template library approach works as follows. You set up a clean WordPress installation (or a dedicated “template” staging environment) that is used only for building and maintaining your standard configurations. For each store type you commonly work with, you build the ideal checkout field configuration — the food delivery setup with time slots and access codes, the digital product setup with minimal fields, the mixed catalog setup with shipping-presence conditional logic — and export each as a named JSON file.
When a new client project starts, you identify which template best matches their store type, import it to their new store as the baseline configuration, and then make any client-specific customizations. What would take an hour of field-by-field setup takes five minutes of template import and refinement. The consistency benefit is also significant — every client store of a similar type starts with the same proven baseline configuration rather than whatever you happened to build on a particular day.
checkout-template-digital-only.json — Minimal fields for digital product storescheckout-template-physical-standard.json — Full address fields for standard physical retailcheckout-template-mixed-catalog.json — Physical/digital conditional setupcheckout-template-food-delivery.json — Time slot, gate code, allergen fieldscheckout-template-b2b-wholesale.json — VAT number, PO field, business account conditionalcheckout-template-gift-and-occasion.json — Gift checkbox, message, delivery date, wrap selectionStoring these template files in a version-controlled repository (git) adds another layer of value: you can track changes to your templates over time, revert to earlier versions if a template update causes problems, and maintain different template versions for different scenarios. This is the kind of professional infrastructure that separates agencies that consistently deliver reliable WooCommerce stores from those that rebuild the same configurations from memory every time.
After importing a configuration to any environment, run through this verification checklist before declaring the deployment complete. Each item corresponds to a potential failure mode that a successful import confirmation message does not catch.
The export function is most valuable when it is used proactively — as a routine part of your site maintenance — rather than reactively after something goes wrong. Here is how to build regular exports into your workflow so your configuration is always backed up and current.
Before updating the NEXU Advanced Checkout Field Editor to a new version, export your current configuration. Plugin updates can occasionally affect stored settings — having a current export means you can restore the configuration immediately if an update causes any issues. This takes 30 seconds and is one of the most valuable maintenance habits you can develop for any plugin that stores complex configuration data.
After completing a meaningful configuration update — adding new conditional logic for a new product category, restructuring the field order, adding fields for a new product line — export the updated configuration and store it with a version number or date. This creates a progressive history of your configuration states that you can roll back to at any granularity, not just “before the last update.”
If you have a monthly or quarterly site maintenance process, add a checkout field configuration export to the checklist. Store it alongside other site documentation — in the client’s project folder, in your agency’s documentation system, or in a dedicated configuration backup folder. A configuration export from three months ago is far better than no configuration backup at all when you need to recover from an incident.
At some point, you will need to roll back a checkout field configuration change — whether because an import produced unexpected results, a configuration update broke something, or a client requested reverting to a previous state. The rollback process is the same as the import process: locate the backup export file you want to restore, import it to the affected environment, and run the verification checklist.
The key to fast, confident rollbacks is having a naming convention that makes it immediately clear which file corresponds to which state. A filename like checkout-fields-production-before-gift-update-2026-03-22.json tells you exactly what state that file represents and when it was created. A filename like export-1.json tells you nothing and creates uncertainty at exactly the moment you need clarity.
For agencies managing multiple client stores, maintaining a separate backup folder per client with clearly named export files is the difference between a five-minute rollback and a half-hour of guesswork. The NEXU Advanced Checkout Field Editor’s import and export system for WooCommerce deployment workflows makes the mechanics trivial — the discipline is in maintaining the file organization and naming conventions that make the system useful under pressure.
The JSON export is a powerful tool for transferring checkout field configuration, but it has limitations that are important to understand so you can address them in your deployment workflow.
As noted earlier, per-product field associations reference product IDs. If your staging and production environments have different product IDs for the same products, you will need to manually reassign per-product fields to the correct products after importing. To minimize this: when setting up staging as a clone of production, use a tool that preserves database IDs (like Duplicator or WP Migrate DB Pro) so product IDs match between environments.
If you have customized WooCommerce email templates to reference custom field values — for example, including the gift message in the order confirmation email — those template customizations are in your theme files or email template customization plugin, not in the checkout field editor configuration. They need to be transferred separately as part of your overall deployment process.
License activation is handled separately through the NEXU WP account system and is not part of the configuration export. Before importing a configuration to a new environment, ensure the plugin is installed, activated at the WordPress level, and licensed for that environment. An unlicensed installation may not execute the imported configuration correctly.
The staging-to-production workflow for WooCommerce checkout fields is one of those areas where professional development practice makes a significant difference. The difference between a store owner who manually recreates checkout configurations and a developer or agency that uses a systematic export-import-verify workflow is not just time — it is reliability, consistency, and the confidence that comes from knowing your checkout configuration is always backed up and recoverable.
The export and import features built into the NEXU Advanced WooCommerce checkout field configuration manager give you the mechanics of this workflow. The naming conventions, backup schedules, verification protocols, and template libraries described in this guide are the professional practices that make those mechanics into a reliable deployment system. Apply both together and you have a checkout field management workflow that scales from a single store to a portfolio of client sites without adding proportional overhead.
NEXU Advanced Checkout Field Editor includes a complete JSON export and import system that transfers your entire checkout field configuration — fields, conditional logic, ordering, validation rules — between environments in seconds. Build once, deploy everywhere.







Saved me so many hours moving checkout fields to production. Wish I'd found this ages ago.
Hey everyone! just used this guide to move my checkout fields from staging to live, and man what a really helpful. That one click JSON export/import in the NEXU plugin? Exactly what I've been missing after too many migrations where my custom fields just disappeared into the void. only tiny gripe: the "11 minute read" estimate is a little generous if you're still getting comfy with JSON (took me closer to 20 with some breaks). but honestly?
Man, this export/import tool saved me hours when moving checkout fields from staging to live. i used to manually rebuild every conditional field and label tweak, which was a nightmare if you missed one tiny setting. now it pulls everything over cleanly, but here's the thing you gotta run through the post import checklist.