Next-Level Code. Nexuvibe Style ...
Hrs
Min
Sec

Personalised product businesses run on information. A jeweller cannot engrave a ring without the text. A clothing store cannot cut a custom-size garment without the measurements. A gifts company cannot add a monogram without knowing the initials and the preferred font. Unlike standard product orders where the item is the same for every customer, personalised orders are unique — every single one requires specific customer input before production can begin.
This creates a fundamental checkout design problem. WooCommerce’s standard checkout form collects billing information and payment. It collects nothing about what the customer actually wants done to their product. The gap between what the checkout form captures and what the production team needs is filled, in most personalised product stores, by a follow-up email asking for specifications — with all the delays, abandonment, and operational friction that entails. We have covered that problem in other contexts throughout this series. For personalised products it is especially acute, because unlike event tickets or print-on-demand files, personalisation specifications are often precise, sensitive to transcription errors, and sometimes time-sensitive.
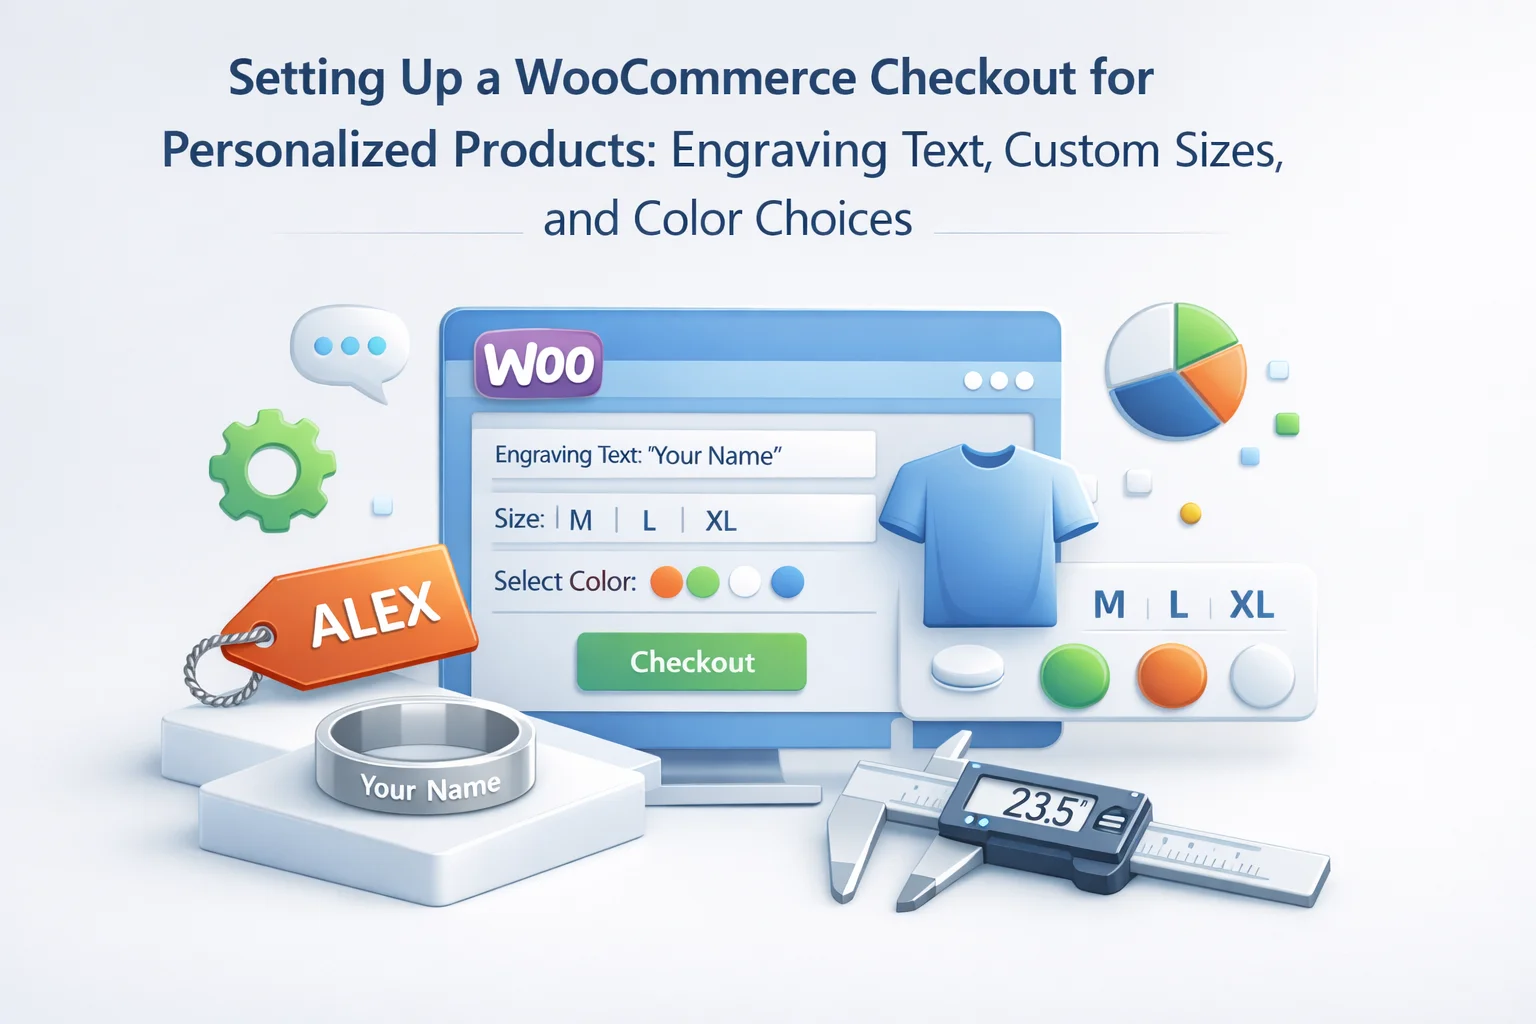
The solution is building personalisation input fields directly into the WooCommerce checkout — specifically as per-product fields that appear only when the relevant personalised item is in the cart. This guide covers the complete design and implementation of those fields: how to structure them for accuracy, how to configure them with the NEXU Advanced Checkout Field Editor for personalised product stores, the specific field types most suited to different personalisation types, and practical configurations for six different personalised product business models.
By the end, your checkout will capture every specification your production team needs the moment an order is placed — and your customers will experience a checkout process that feels specifically designed for what they are buying.
The post-order personalisation email workflow is so embedded in how personalised product businesses operate that many store owners have stopped noticing the cost. It has become background noise — an accepted inefficiency that feels inevitable because it has always been done this way. But when you calculate the actual time and revenue impact, it stops looking like an acceptable trade-off.
A personalised order placed on Monday with a “personalisation to follow” note cannot enter production until the specification arrives. If it arrives Tuesday afternoon and your standard production time is 3 days, the order ships Friday at the earliest. If the customer expected 3-day delivery from the order date, they are already disappointed before the item has been made. Each hour between order placement and specification receipt is a production delay that often has downstream consequences for delivery promises.
When a customer sends their personalisation by email, the text passes through at least two sets of hands: the customer typing it, and the production team reading and entering it. Each transition is an opportunity for transcription error. A misspelled name on an engraved ring, a wrong date on a commemorative plaque, a typo in a monogram — these errors require remake, refund, or compensation. Structured checkout fields that feed directly to production bypass these error-prone manual steps.
Customers who place an order and then receive an email asking for personalisation details sometimes simply never respond. They may have intended to respond, forgotten, changed their mind, or found the extra step too burdensome for what they thought would be a simple purchase. The result is a paid order that cannot be fulfilled, a customer who has had a poor experience, and an administrative process to resolve the situation that costs more than the order was worth.
The field type you choose for each personalisation input has a significant effect on the quality of data you receive. Unstructured text fields produce unstructured responses. Constrained fields — dropdowns, radio buttons with defined options, text fields with character limits — produce structured, production-ready data. The goal is to collect specifications with the minimum friction for the customer and the maximum usability for your production team.
Use for: engraving text, names, messages, dates, monograms, custom phrases. Set a character limit that matches your production constraint — an engraving machine with a 25-character limit means the checkout field should enforce a 25-character maximum. This prevents orders from arriving with text that cannot be produced. Use the placeholder to show a format example: for a memorial plaque field, something like “e.g. In loving memory of James Smith, 1945–2023” sets expectations immediately. Always specify allowed characters if there are production constraints around special characters, symbols, or punctuation.
Use for multi-line personalisation content — a poem for a custom print, a detailed design brief, a multi-paragraph dedication for a commemorative book, a longer gift message that will be typeset on a printed card. Unlike the single-line text field, textarea allows the customer to write multiple lines without the input field wrapping awkwardly. Apply a character limit appropriate to the product’s capacity. For a custom notebook dedication page, 500 characters might be appropriate. For a single-line print, keep it to one-line text (use a regular text field).
Use for personalisation choices that have a defined set of options: font style, colour, material, finish, size, and any other specification where the customer must choose from what you can actually produce. Dropdowns and radio buttons prevent customers from requesting options you cannot deliver — a customer who sees “Silver / Gold / Rose Gold” as their metal choices cannot accidentally request Titanium in a free-text field. Use radio buttons for 2-4 visible options, dropdowns for 5 or more. Label each option clearly and consider adding helper text explaining any differences between options.
For custom-sized products requiring multiple measurements, create separate text fields for each dimension rather than one free-text field where customers write “42cm x 30cm x 15cm” in an unstandardised format. Separate width, height, and depth fields — each with a unit specification (cm, inches, mm) and a numeric validation — produce clean, structured data that feeds directly to production without interpretation. Always specify the measurement unit in the field label and provide a format example. For garments: separate fields for chest, waist, hip, and length eliminate ambiguity entirely.
For personalised products where the customer’s own image or design is part of what is produced — photo gifts, custom print products, logo merchandise — a file upload field collects the artwork at the moment of purchase. Configure accepted file types to match your production software (PDF, PNG, SVG for print; JPG, PNG for photo products). Specify minimum resolution in the field helper text. A file upload field for personalised products eliminates the artwork collection follow-up entirely and links the artwork directly to the order record.
Commemorative and anniversary products often require a specific date as part of the personalisation — a wedding date, a birth date, a graduation year. A date picker field is significantly better than a free-text date field because it eliminates format ambiguity (is 05/06/2024 May 6th or June 5th?) and produces a standardised date format that your production team can use directly. For products where only a year is needed, a simple text field with numeric validation is more appropriate. For products requiring a precise date, the date picker prevents the common frustration of misinterpreted date formats.
The quality of personalisation specifications you receive is almost entirely determined by the quality of the instructions you provide at the field. A field labeled “Personalisation” tells the customer nothing about what format you need, what constraints exist, or what a good response looks like. The effort invested in writing precise, helpful field labels and helper text pays dividends in reduced error rates, fewer follow-up contacts, and production that can start immediately rather than after a clarification exchange.
Three principles make personalisation field instructions effective. First, be specific about constraints — character limits, measurement units, file formats, allowed characters — before the customer makes a mistake, not after. Second, show a format example in the placeholder text or helper text. An example of exactly what you want the customer to provide reduces guesswork and produces more consistent submissions. Third, set expectations about what happens if the specification cannot be fulfilled — “orders with text exceeding 20 characters will need to be shortened before production” is more useful than a validation error with no explanation.
For measurement fields, always specify the unit and the measuring point. “Chest measurement in cm (measured at the fullest point of the chest)” eliminates the ambiguity of whether the customer should provide their actual chest measurement or their preferred garment size. For colour fields, specify whether you want a Pantone reference, a hex code, or just a name — and note whether the named colours are exact matches or approximate. Every ambiguity you resolve in the field instructions is a support email you will not receive.
Per-product fields in the NEXU Advanced Checkout Field Editor are configured directly in the product data panel of each product — not in the global checkout field builder. This is what makes them product-specific: they are attached to the product itself and travel with it whenever that product appears in a cart.
Go to Products and open the personalised product. Scroll to the Product Data panel. Click the Checkout Fields tab added by the NEXU Advanced Checkout Field Editor. All configuration done here applies exclusively to this product. Other products in your catalog are unaffected.
Click Add Field. Select the appropriate field type (text for engraving, dropdown for colour choice, file upload for artwork). Write a specific label. Add a placeholder example. Add helper text covering constraints. Set required or optional status — required if the product cannot be produced without the specification, optional if a default applies when the field is left blank. Save before adding the next field.
A personalised ring might need three fields: engraving text (text field), metal choice (dropdown: Silver / Gold / Rose Gold), and font style (dropdown: Script / Block / Modern). Add each as a separate field. The fields will appear in the sequence you add them — use the drag handles to reorder them into the most logical sequence for the customer (usually the most important specification first).
Save the product. In an incognito browser, add the product to the cart and proceed to checkout. Verify all personalisation fields appear with the correct labels, placeholders, and helper text. Test required field validation. Enter test specifications and place a test order, then check the WooCommerce order admin to confirm all specification values appear correctly in the order record linked to the product.
Here are detailed field configurations for six common personalised product business types. Each configuration is designed to collect everything a production team needs from the first order, with field types and labels optimised for the specific product constraints involved.
Every per-product personalisation field value collected at checkout is stored as order metadata in WooCommerce — permanently linked to the specific order, visible in the order details panel, and included in the admin order notification email. From the moment an order is placed, your production team has everything they need without any manual steps or follow-up communication.
When your production team opens an order in the WooCommerce admin, they see the personalisation specifications exactly as the customer submitted them — no interpretation, no transcription, no risk of the specifications being wrong because they passed through an email chain. Engraving text is exactly what the customer typed. Size measurements are exactly the numbers the customer entered. Colour choices are the dropdown option the customer selected. The specification is the specification.
For uploaded files — artwork, logo files, design references — the uploaded file is linked to the order and downloadable with a single click. Your graphic designer or production technician can access the artwork from the order panel without needing to be forwarded an email attachment. The file is permanently associated with the order, searchable by order number, and accessible to anyone on your team with WooCommerce admin access.
Per-product personalisation fields configured in the NEXU Advanced Checkout Field Editor work correctly in both the classic WooCommerce shortcode checkout and the WooCommerce Blocks checkout. All field types — text, textarea, dropdown, radio buttons, file upload, date picker — render, validate, and save data correctly in both environments.
For personalised product stores setting up new WooCommerce installations — which default to the Blocks checkout — this compatibility means you can configure your full personalisation field setup from the start without needing to revert to the classic checkout or maintain separate configurations for different checkout versions. Your investment in building well-designed personalisation fields works across both environments without any additional configuration effort.
Building a personalised product checkout that collects specifications at the point of purchase is one of the most direct investments a WooCommerce personalised product business can make in its own operational efficiency. The setup time is bounded — a few hours to configure the fields for each product, test the workflow, and document the specifications your production team should expect to see. The benefit is permanent: every order that arrives with all specifications attached, every ring that goes into the engraving queue with the correct text, every garment that goes to the cutting table with the correct measurements, is an order that did not require a follow-up email, a delay, or a remake.
The NEXU Advanced WooCommerce checkout field editor for personalised product stores gives you per-product field configuration, every field type covered in this guide, character limit validation, file upload support, date pickers, and full WooCommerce order integration. The personalisation fields you build become a permanent part of your production workflow — invisible to customers as anything other than a form that asks exactly the right questions about what they want to have made.
NEXU Advanced Checkout Field Editor gives you per-product field configuration with every field type your personalised product business needs — text with character limits, dropdowns for constrained choices, file uploads for artwork, date pickers for commemorative dates — all linked directly to WooCommerce orders from the moment of purchase.







Saved my first custom order no more guessing!
Ugh, the sizing options are way too vague.
OMG this saved me so much time!