Next-Level Code. Nexuvibe Style ...
Hrs
Min
Sec

Every field on a checkout form is a micro-decision your customer has to make. Most of the time, that decision is trivial — type a name, enter an address — and it gets made without conscious thought. But every field that a customer has to look at, evaluate, and either fill in or mentally skip is a moment where their attention is interrupted and their momentum is slowed. The field they cannot immediately understand why you are asking for is the one where the friction sharpens into doubt.
Conditional logic addresses this problem at its root. Rather than showing every possible field to every customer and hoping they figure out which ones apply to them, conditional logic makes the form itself intelligent. Fields appear only when they are relevant to the specific customer, the specific product, or the specific choices already made in the form. The customer never sees a field that does not apply to their situation.
This is not a cosmetic improvement. Research by the Nielsen Norman Group — one of the most respected usability research organizations in the world — consistently finds that progressive disclosure, which is the principle of showing information only when it is needed, is one of the most effective techniques for reducing cognitive load in complex interfaces. A WooCommerce checkout form is exactly the kind of complex interface where this principle makes a measurable difference. This guide explains how it works in practice, and shows you how to implement it using a WooCommerce checkout field editor with built-in conditional logic — without writing a single line of code.
Conditional logic in the context of a checkout form means that the visibility, required status, or available options of one field depend on the state of another field or on external conditions like what is in the cart. A field with a condition attached to it only becomes visible (or required, or populated) when that condition is true. When the condition is not met, the field is hidden and takes up no space and demands no attention.
The UX principle at work here is called progressive disclosure. The concept was articulated clearly in usability research throughout the 1990s and has been validated repeatedly since. The core insight is that presenting all possible information or options simultaneously does not make a user more informed — it makes them more overwhelmed. Human working memory is limited, and every unnecessary option competes for cognitive resources with the options that actually matter. By revealing information progressively, as context makes it relevant, you reduce the total cognitive load without reducing the total capability of the interface.
Applied to WooCommerce checkout, this means that a customer buying a physical product should see shipping fields, but a customer buying a digital download should not. A business buyer should see a VAT number field, but an individual consumer should not. A customer who selects “gift” as the order type should see a gift message field, but a customer making a personal purchase should not even know the field exists. The form adapts to who the customer is and what they are doing, rather than asking every customer to adapt to a form built for someone else.
Not all conditional logic works the same way. There are four distinct types of triggers that can control field visibility and behavior, and understanding which type to use in each situation is the difference between a conditional logic setup that works smoothly and one that confuses customers with unexpected behavior.
This is the most common trigger type. A field is shown or hidden based on what value has been selected or entered in another field. When a customer selects “Business” from a customer type dropdown, the VAT number field appears. When they select “Individual,” it stays hidden. When a customer checks the “This is a gift” checkbox, the gift message textarea becomes visible. The trigger is the value of a specific field reaching a specific state.
Cart-based triggers allow fields to appear or disappear depending on what products or product categories are currently in the customer’s cart. An engraving text field appears when an engravable product is added to the cart, and disappears when it is removed. An age verification checkbox appears when an age-restricted product is present. A hazardous materials declaration field appears when a product in the relevant category is detected. The cart is the trigger, not any specific field.
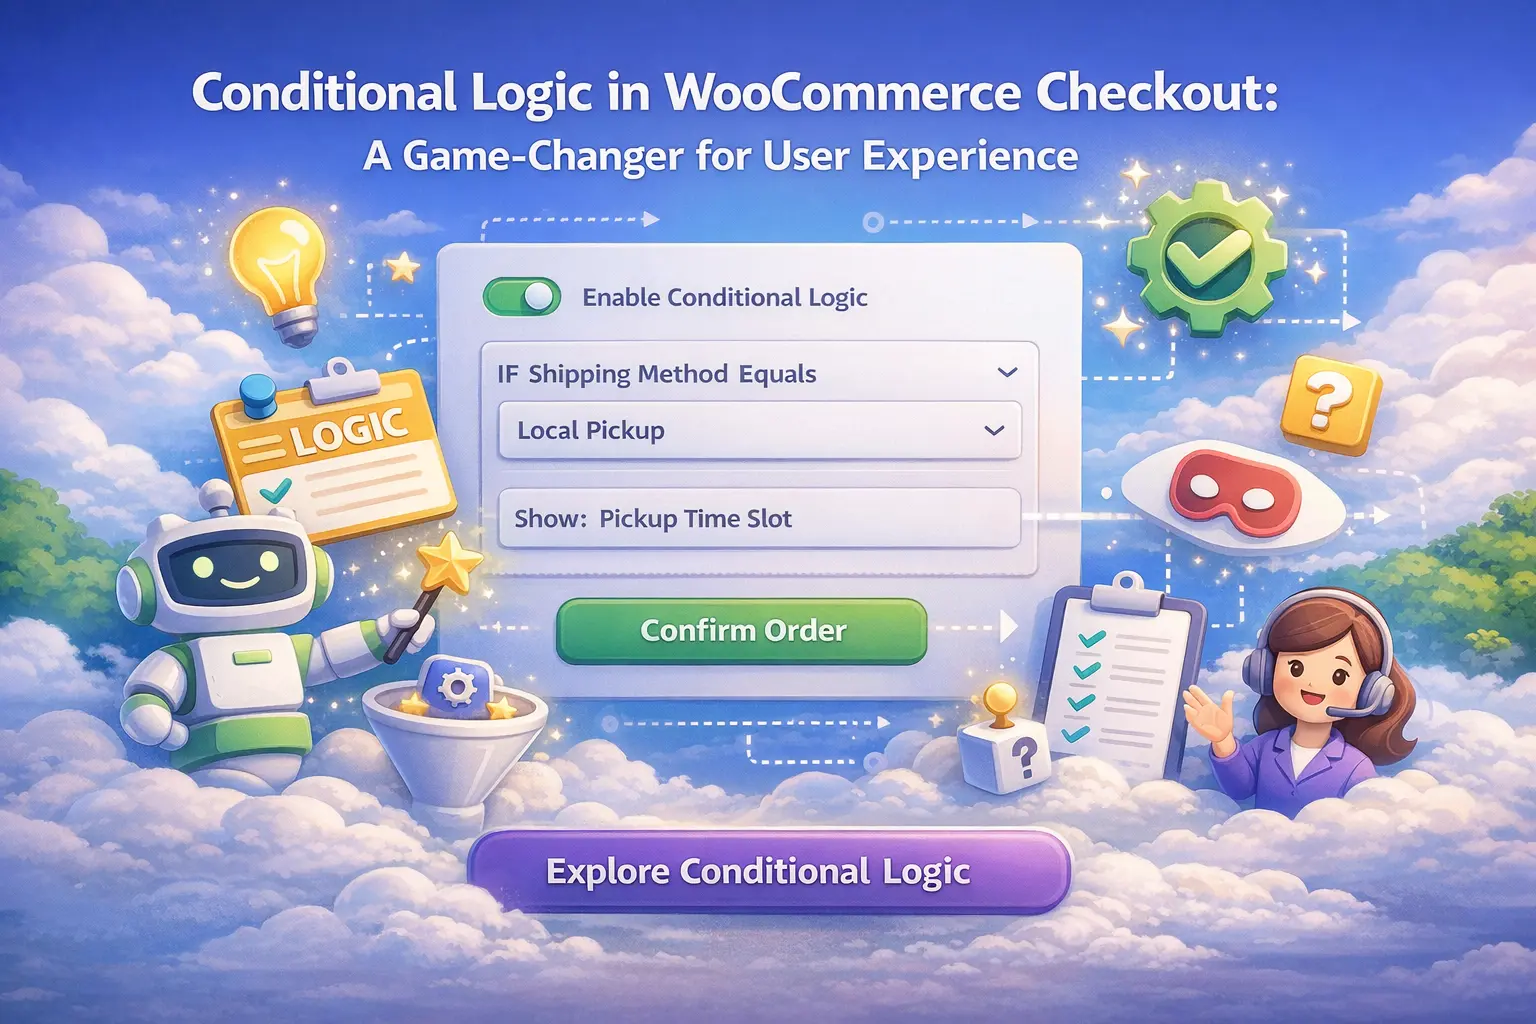
Shipping method triggers show or hide fields based on which delivery option the customer has selected. A preferred delivery time slot selector makes sense when the customer chooses a local delivery option, but is irrelevant for standard postal shipping. A signature-required confirmation checkbox applies to courier delivery but not to click-and-collect. A safe drop location field (where to leave the parcel if no one is home) is relevant for residential delivery but not for business addresses where someone is always present. Shipping method logic makes fields appear exactly when their purpose is relevant.
Country-based triggers are critical for stores operating across multiple markets with different legal and administrative requirements. A VAT number field is relevant in EU countries but not in the US. A GST number field is relevant in Australia but not in Germany. A county field is standard in Irish addresses but not used in most other countries. Country-based conditional logic makes your checkout form locally appropriate for every market you serve, without requiring separate checkout pages for each country.
Theory is useful. Concrete examples are more useful. Below are eight real scenarios that demonstrate how conditional logic solves specific checkout problems across different store types. Each one represents a pattern you can adapt directly to your own store.
A customer checks “This is a gift.” Conditional logic reveals three fields that were previously hidden: a gift message textarea, a gift wrapping selection (none, standard, premium), and a “Send to a different address” checkbox. If they check the send-to-different-address option, a full secondary delivery address form appears. None of these fields burden customers who are not buying gifts, and customers who are buying gifts find the entire process handled in a single, natural flow.
A radio button or toggle at the top of the form asks: “I am ordering as: Individual / Business.” When Business is selected, four fields appear: company name (required), VAT number (optional), purchase order reference (optional), and billing contact email for accounts payable (optional). Individual customers never see any of these fields. This single piece of conditional logic transforms a generic checkout into one that serves two completely different customer types equally well.
A store selling both standard and personalized products (jewelry, awards, stationery) uses cart-based triggers to show personalization fields only when a customizable product is in the cart. A text input labeled “Engraving text” and a character counter appear automatically when the relevant product is detected. A second field for “Engraving font preference” (select dropdown) appears if the product supports font selection. When the customer removes the personalizable product, both fields disappear and any data entered is cleared.
A food or flower store offers both standard postal shipping and local same-day delivery. When the customer selects “Local delivery” as their shipping method, a time slot selector appears (morning, afternoon, evening) alongside a field for delivery instructions specific to local delivery (gate codes, intercom numbers). Customers choosing standard shipping see a clean form with only the fields relevant to postal delivery. Neither group is confused by fields that belong to the other’s workflow.
When a product from an age-restricted category (alcohol, tobacco accessories, adult content) is present in the cart, an age confirmation checkbox appears with a statement the customer must check to proceed: “I confirm that I am of legal age to purchase this product in my country of residence.” This field is required and the checkout cannot be completed without it. Customers buying only non-restricted products never see this field. The compliance requirement is met precisely and only when it applies.
A store serving customers across the EU, Australia, and the US uses country-based conditional logic to show the appropriate tax identification field for each market. EU countries see a VAT number field labeled for their specific system (MwSt-Nummer for Germany, NIF/CIF for Spain). Australian customers see an ABN field. US customers see nothing, since US consumer transactions do not require tax identification at checkout. One checkout form handles all markets with zero confusion and full compliance in each one.
When a customer selects a residential shipping address (as opposed to a business address), a “Safe place for delivery if no one is home” field appears. This field lets customers specify where a parcel should be left (front porch, with neighbor at number 14, in the mailbox). Business addresses receive no such field, since there is generally someone available to accept deliveries during business hours. The trigger can be based on shipping method selection or on whether the customer has indicated a home versus work address type earlier in the form.
A software or educational resource store offers discounted pricing for students and academic institutions. When a customer selects “Student” or “Educational institution” from an account type dropdown, a field appears requesting their student email address or institutional affiliation for verification purposes. The field label, placeholder text, and help text all change to match the selected account type. Standard commercial customers see neither field. The discount verification workflow is built directly into the checkout form rather than handled through a separate support process.
Conditional logic has two distinct dimensions that are often conflated but that operate independently and serve different purposes. Understanding the difference between them matters for building a checkout form that is both functional and frustration-free.
Controls whether a field is visible on the form at all. When a field is hidden by conditional logic, it occupies no visual space and demands no cognitive attention. This is the primary tool for reducing form length and cognitive load — the field simply does not exist for the customer who does not need it.
Controls whether a visible field must be completed before the form can be submitted. A field can be visible but optional (the customer can leave it blank), or visible and required (they cannot proceed without completing it). Conditional required logic means a field’s required status changes based on conditions — a phone number might be optional for standard shipping but required for local delivery where you need to call on arrival.
The most powerful checkout forms use both dimensions in combination. A field is hidden until a condition makes it relevant, at which point it becomes visible and — depending on the context — either required or optional. This gives you precise control over what data you collect from each customer type without creating a bloated form that tries to accommodate every scenario simultaneously.
Implementing conditional logic in WooCommerce the traditional way requires PHP hooks, JavaScript event listeners, and ongoing compatibility maintenance every time WooCommerce releases an update. For most store owners, this means either hiring a developer for what is conceptually a simple configuration task, or going without conditional logic entirely and accepting the conversion cost of a static form.
The right approach is a dedicated checkout field editor that exposes conditional logic as a configuration option within the field settings panel itself. When you create or edit a field, you should be able to set its conditional rules in the same interface: choose a trigger type, select the trigger field or condition, choose whether the field is shown or hidden when the condition is met, and save. The logic then runs automatically on the frontend, with no code required and no compatibility concerns on WooCommerce updates.
Before deploying conditional logic on a live store, work through this checklist. The most common conditional logic failures are not conceptual — the store owner understood what they wanted to build. They are implementation details that only surface when a real customer goes through the form in an unexpected order or reverts a choice mid-checkout.
Conditional logic is the feature that separates a checkout form that was built thoughtfully for a specific customer base from one that was set up once and never revisited. It is what makes the difference between a form that asks every customer the same set of questions and one that adapts in real time to who the customer is, what they are buying, and how they are buying it. The technical implementation, using a WooCommerce checkout plugin with smart conditional field visibility, is straightforward once you have clarity on which trigger type each scenario requires.
Start with the scenario most relevant to your store — most stores have one obvious conditional logic win that would immediately improve the checkout experience. Implement it, test it thoroughly, and then work through the rest of your form systematically. The cumulative effect of a form that is precisely relevant to every customer who uses it is a measurable improvement in checkout completion rates that no amount of discount code or retargeting campaign can replicate.
Advanced WooCommerce Checkout Field Editor gives you all four conditional trigger types, full show/hide and required/optional logic, per-product field assignment, and WooCommerce Blocks support — everything you need to build a truly adaptive checkout form without touching a line of code.








Oh man, finally a checkout that gets it!
Oh man, no more confusing my buyers!
As a receptionist handling client orders daily, I can't overstate how much cleaner our checkout process looks now. Before, customers would pause and ask why they were seeing fields like "VAT number" when they were just buying a single product. Now, the form adapts instantly business clients see what they need, and individuals don't get confused by irrelevant questions.