Next-Level Code. Nexuvibe Style ...
Hrs
Min
Sec

Most WooCommerce checkout pages are static. Every customer sees the same fields in the same order regardless of what they are buying, how they want it delivered, or who they are. A first-time customer buying a digital download sees the same form as a returning wholesale buyer ordering oversized furniture for local delivery. That does not make sense, and it costs you money.
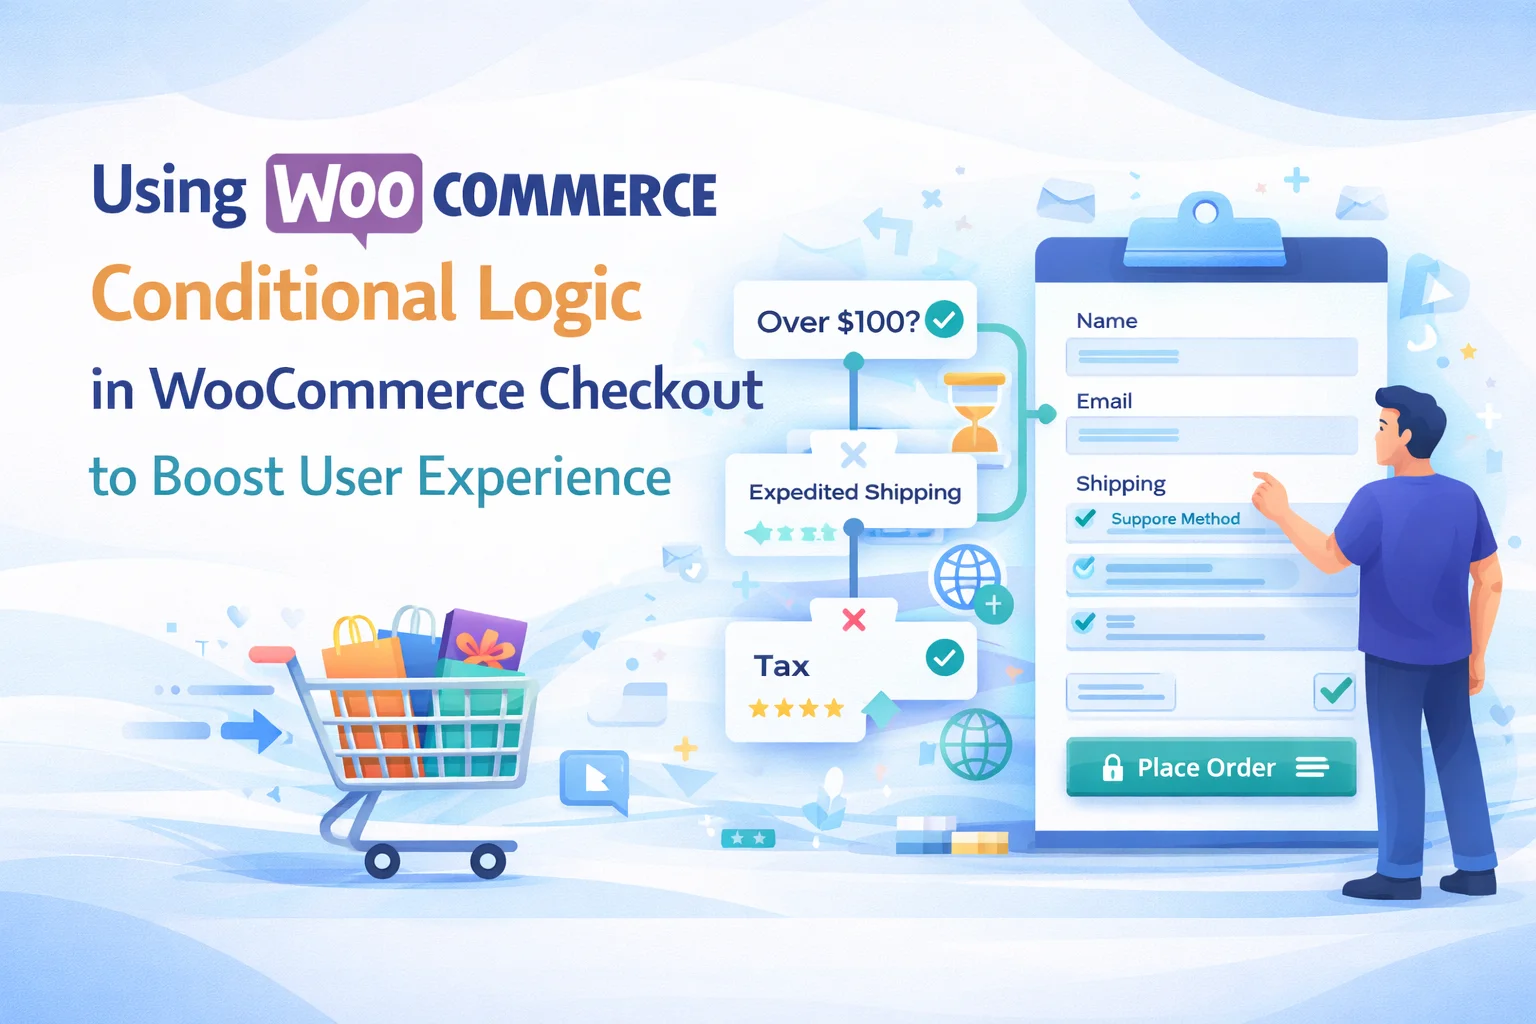
Conditional logic is the feature that turns a static form into an intelligent one. It is a set of rules that determines which fields appear based on what the customer is doing: what is in their cart, which shipping method they selected, what they chose in a previous field, or what product category they are checking out with. The result is a checkout page that adapts in real time, showing only the fields that are relevant to each specific transaction.
This guide explains the different types of conditional logic available for WooCommerce checkout, walks through real-world scenarios for each type, and shows how to implement them using a WooCommerce checkout field editor with conditional logic and dynamic field display. No code required for any of it.
At its core, conditional logic is an “if this, then that” rule applied to form fields. If a certain condition is true, a specific field appears. If the condition is not true, that field stays hidden. The “condition” can be based on many different inputs: the value of another field, what products are in the cart, the shipping method the customer selected, the customer’s user role, or the total value of the order.
The key distinction between conditional logic and simply adding or removing fields is that conditional logic operates in real time. The customer does not reload the page or click a button to see the form change. They check a box and a new field slides into view. They select a dropdown option and a related field appears instantly below it. They change their shipping method and the address fields appear or disappear accordingly. This real-time responsiveness is what makes conditional logic powerful. It creates a checkout experience that feels personalized and intelligent rather than one-size-fits-all.
Field-value conditions are the most common and most intuitive type of conditional logic. They work on a simple principle: the value the customer enters or selects in one field determines whether another field appears. One field controls the visibility of another.
You add a checkbox field labeled “This is a gift.” When the customer checks it, two additional fields appear: a “Gift Message” text area and a “Gift Wrapping Style” dropdown. When the box is unchecked, those fields are invisible. The customer buying for themselves sees a clean form. The customer buying a gift sees exactly the fields they need to personalize the gift experience. No confusion in either direction.
You add a dropdown labeled “Address Type” with two options: “Personal” and “Business.” When the customer selects “Business,” a “VAT Number” field and a “Company Registration” field appear. When they select “Personal,” those fields stay hidden. This keeps the form minimal for individual buyers while still collecting the tax and legal information you need from business customers.
A checkbox labeled “I have a tax exemption” triggers a file upload field where the customer can attach their exemption certificate. Customers without an exemption never see the upload field. Customers with one can submit their documentation right at checkout instead of emailing it separately after the order, which eliminates a follow-up step and speeds up order processing.
The configuration for field-value conditions is straightforward in a visual editor. You select the target field (the one you want to show or hide), choose the trigger field (the one the customer interacts with), set the condition (equals, not equals, contains, is empty), and define the trigger value. The logic runs in real time on the checkout page without requiring a page reload.
Cart-content conditions let your checkout form react to what is in the customer’s cart. This is a level of intelligence that field-value conditions alone cannot achieve because it connects the checkout form to the actual products being purchased.
If a product in the “Alcohol” or “Tobacco” category is in the cart, an age verification checkbox appears at checkout. Customers buying non-restricted products never see it. This is a legal requirement in many jurisdictions, and conditional logic lets you implement it without making it a permanent part of every checkout experience.
If a product tagged as “oversized” or “heavy” is in the cart, additional fields appear: “Is there elevator access?” (dropdown: yes/no), “Floor number” (text), and “Any delivery restrictions we should know about?” (textarea). A customer ordering a throw pillow does not see these questions. A customer ordering a three-seat sofa does. This prevents delivery failures that are expensive for both you and the customer.
If the cart contains only virtual or downloadable products, the entire shipping address section can be hidden. The customer sees a checkout form that is roughly half the length of a physical product checkout. This is one of the most common and most impactful uses of cart-content conditional logic, especially for stores that sell both physical and digital products.
Cart-content conditions can be based on specific products, product categories, product tags, or product variations. The flexibility here is what makes this type of conditional logic particularly valuable for stores with diverse catalogs. The WooCommerce conditional checkout field editor with product-based and cart-based display rules lets you configure all of these scenarios through its visual condition builder.
Shipping method conditions connect your checkout fields directly to the logistics of each order. Different shipping methods have different information requirements, and your checkout form should reflect that rather than asking for information that does not apply to the selected delivery method.
When a customer selects “Local Pickup,” there is no delivery. The shipping address fields are irrelevant and confusing. A shipping method condition hides the entire shipping section when local pickup is selected, and brings it back when the customer switches to a delivery-based shipping method. This removes 5 to 7 fields from the form instantly, making the checkout dramatically simpler for in-store pickup orders.
When a customer selects “Local Delivery,” two custom fields appear: “Gate Code / Buzzer Number” and “Drop-off Instructions.” These fields are only relevant for local delivery drivers who need to access the customer’s property. Standard shipping customers do not see them because a postal carrier does not need a gate code. This level of specificity prevents failed deliveries and the costly redelivery attempts that follow.
When a customer selects “Express Delivery,” a “Preferred Delivery Time” dropdown appears with time slots (morning, afternoon, evening). Standard shipping does not offer time slot selection because the carrier determines the delivery window. Express customers are paying a premium for faster service and appreciate being able to choose when their package arrives.
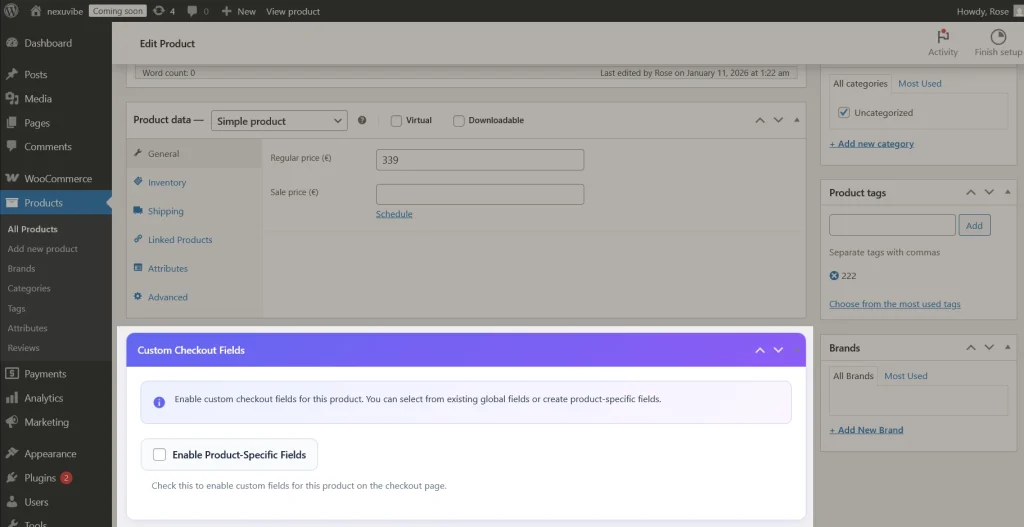
Conditional logic controls when fields appear based on rules. Per-product fields control which fields exist for each product. When you combine these two features, you get a checkout form that is intelligent on two levels simultaneously.
Consider a store that sells both standard clothing and custom-tailored suits. For the standard clothing, the checkout is simple: name, address, payment. For the custom suit, the checkout needs measurements, fabric preference, and a monogram option. With per-product fields, the measurement and fabric fields only appear when a custom suit is in the cart. With conditional logic layered on top, the monogram text field only appears when the customer checks the “Add monogram” checkbox within the suit-specific fields.
This combination is powerful because it keeps the global checkout completely clean. No clutter from product-specific fields that most orders do not need. And within the product-specific fields, conditional logic further reduces what the customer sees based on their actual selections. The result is a checkout form that always displays the minimum number of fields needed for each specific order.
Different industries have different checkout data requirements. Here are some practical conditional logic configurations organized by store type.
Let us walk through setting up one of the scenarios above from start to finish. We will use the gift order example because it combines a field-value condition with multiple dependent fields, which covers the core mechanics that apply to every other scenario.
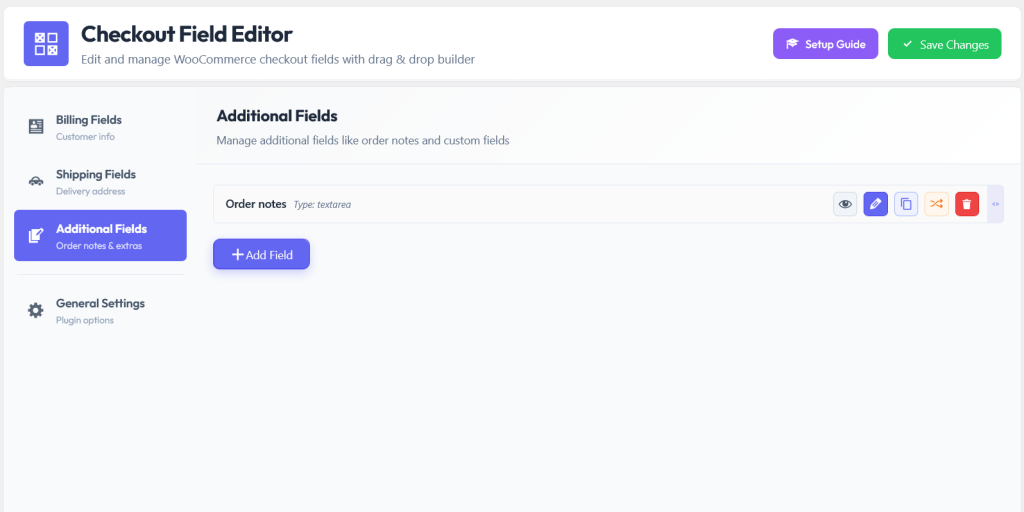
Add a new checkbox field to the Additional Fields section. Label it “This order is a gift.” Set it as optional. This is the field the customer will interact with to trigger the gift-related fields. It adds minimal visual weight to the form: a single checkbox with a clear label.
Add a textarea field labeled “Gift Message” and a date picker field labeled “Preferred Delivery Date.” Both should be placed below the trigger checkbox in the field order. These are the fields that will appear when the gift checkbox is checked.
Open the conditional logic settings for the “Gift Message” field. Set the rule to: Show this field when “This order is a gift” is checked. Repeat the same rule for the “Preferred Delivery Date” field. Save the configuration. Both fields are now conditionally hidden by default and will only appear when the trigger checkbox is activated.
Open your checkout page. You should see the gift checkbox but not the gift message or delivery date fields. Check the box. Both fields should appear smoothly below it. Uncheck the box and they should disappear. Place a test order with the fields filled in and verify the data appears in the order confirmation email and in the admin order detail page.
Conditional logic is powerful, but it can create confusion if implemented carelessly. Here are the most common mistakes we see and how to avoid them.
If you set a conditional field as “required” and the condition is not met (so the field is hidden), some plugins will still validate the hidden field and block form submission. Make sure your plugin correctly skips validation for hidden fields. Test this by submitting the form without triggering the condition and verify it goes through without errors.
Field A shows when Field B has a value, and Field B shows when Field A has a value. This creates a loop where neither field can ever appear because each one depends on the other. Always ensure your condition chains flow in one direction: a trigger field should never depend on a field it controls.
If a customer needs to interact with three different fields before a fourth one appears, the logic is probably too complex. Each conditional step adds cognitive load. Keep your conditions simple: one trigger, one or two dependent fields. If you need deeper nesting, reconsider whether the data is better collected post-purchase rather than during checkout.
Conditional logic transforms a checkout page from a static form into a responsive, intelligent data collection tool. It reduces friction for customers who do not need extra fields, while still collecting the data you need from customers who do. The implementation is straightforward with a visual editor, and the impact on conversion rates is real and measurable.
If your store has different product types, multiple shipping methods, or any scenario where different customers need to provide different information at checkout, conditional logic is not optional. It is the difference between a checkout page that works for your average customer and one that works well for every customer. The NEXU checkout field editor with conditional logic, per-product fields, and WooCommerce Blocks support gives you all three types of conditions in a single plugin, configurable without writing any code.
Show and hide fields based on cart contents, shipping methods, and customer selections. Layer conditional logic with per-product fields for maximum checkout intelligence.





As a bank manager who also runs a side e commerce store, I don't have time to mess with code or hire developers. The conditional logic setup for WooCommerce checkout was exactly what I needed no coding, just point and click rules. I had dynamic fields for my wholesale vs.
Hey! Less to fill out means happier customers
Hey everyone, just had to leave a quick note about the conditional logic feature in WooCommerce checkout. As a startup founder, I've lost count of how many times I've watched customers abandon carts because the checkout process felt like filling out a novel. this tool is a really helpful.