
Picture two WooCommerce stores. Same niche. Same products. Roughly the same traffic. One makes $18,000 a month. The other makes $31,000. The gap has nothing to do with ads, SEO, or conversion rate optimisation. The second store has a sales funnel. The first one does not.
That sounds like a claim made to sell something. But it is just arithmetic. If your average order value is $48 and you add a $12 checkout offer that 20% of customers accept, your effective AOV becomes $50.40 — a 5% lift on every single transaction, with zero extra traffic. Scale that across 500 monthly orders and you have added $1,200 per month from a single, five-minute setup.
A sales funnel is the system that makes those moments happen reliably. This guide shows you how to build one in WooCommerce — step by step, starting from first principles, without jargon or tech overwhelm.
What is a WooCommerce sales funnel — and why does “funnel” matter?
The word “funnel” gets thrown around so loosely in marketing that it has almost lost its meaning. So let us anchor it to something concrete before moving on.
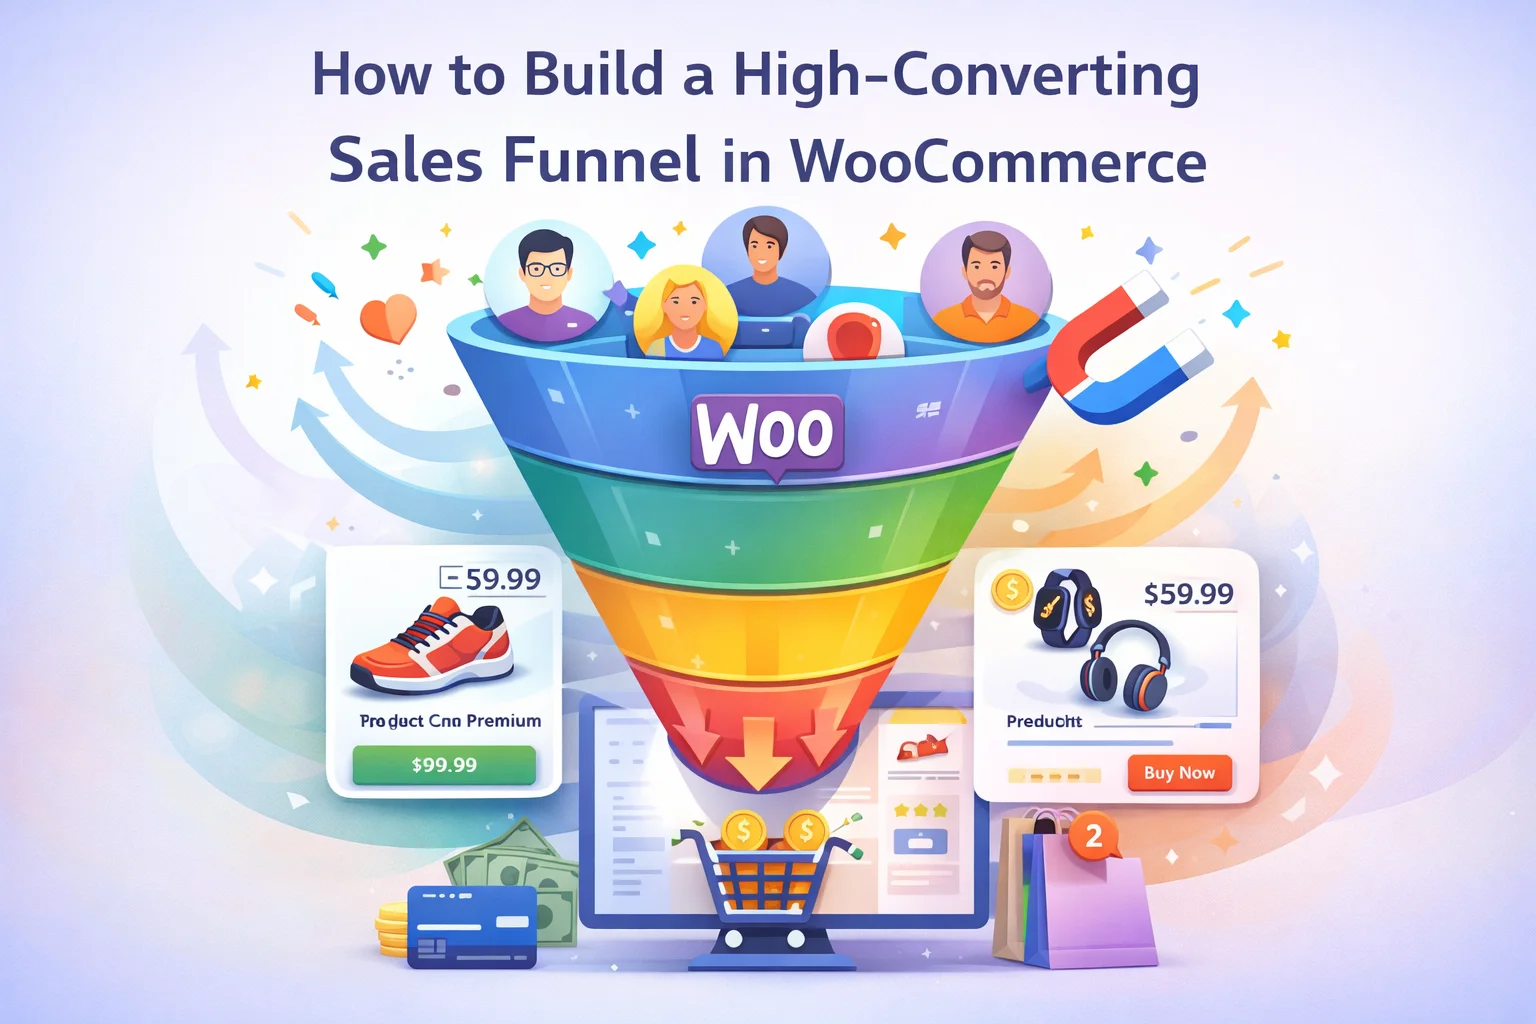
A sales funnel, in the context of WooCommerce, is the sequence of touchpoints a customer passes through from the moment they land on your store to the moment they complete a purchase — and ideally, the moments after that, too. The shape is a funnel because more people enter at the top than exit at the bottom. Some browse and leave. Some add to cart and abandon. A smaller number check out. An even smaller number accept a post-purchase offer.
What distinguishes a store with a funnel from one without is intentionality. Without a funnel, each stage of the customer journey is disconnected. Products exist. A checkout page exists. Orders happen. But nothing has been deliberately designed to move customers forward, maximise their order value, or bring them back.
Every customer who lands in your store has already spent attention and energy getting there. A funnel treats that arrival as the beginning of a relationship, not just a single transaction. The revenue difference between a store with a funnel and one without is almost entirely the difference between capturing and wasting that existing momentum.
With that framing in place, let us look at the four stages every WooCommerce funnel needs to address.
The 4 stages of a WooCommerce sales funnel
You do not need to optimise all four stages simultaneously. But understanding them as a system helps you see where your store is leaking revenue right now.
Awareness — Getting the right people to the right product
This is the top of the funnel: organic search, paid ads, social content, email lists. A customer discovers your store and lands on a product page. Most funnel guides spend the most words here. We will not, because awareness is usually not the bottleneck for established WooCommerce stores. The leak is further down.
Consideration — Product pages, upsells, and related products
The customer is evaluating. They are reading your product description, looking at images, checking reviews. This is where upsells live — showing a better version of what they are considering before they commit. It is also where a “frequently bought together” section can surface products they had not yet discovered. Done well, this stage both increases average order value and improves product discovery.
Conversion — The checkout and the order bump
The customer is about to pay. This is the most underutilised moment in most WooCommerce stores. The order bump — a single checkbox offer just above the payment button — converts at 15–30% because intent is at its peak and adding something costs the customer nothing in effort. A clean checkout with a relevant bump is where the sharpest AOV gains come from, and it requires the least infrastructure to set up.
Post-purchase — The thank-you page upsell and beyond
The order is confirmed. The customer is in the warmest possible emotional state — they just bought something they wanted. A well-placed post-purchase offer on the thank-you page, accepting a complementary product with one click (no re-entering payment details), converts at 10–25% when it is genuinely relevant. This stage is often skipped entirely by smaller stores, which means it is a direct revenue gap waiting to be closed.
What WooCommerce gives you — and what it does not
Before reaching for plugins, it is worth knowing exactly what the native WooCommerce installation supports. The honest answer is: the bones are there, but the muscles are not.
Out of the box, WooCommerce lets you manually assign upsell and cross-sell products to each item in your catalogue. Upsells appear on the product page under “You may also like.” Cross-sells appear on the cart page. That is the extent of the native funnel capability. No checkout bumps. No post-purchase offers. No targeting conditions. No analytics on what converts and what does not.
The implication is straightforward: if you want a funnel that covers stages 3 and 4 — checkout and post-purchase — you need a plugin designed for that purpose. The good news is that a focused, well-built plugin does not need to be complex or expensive. It just needs to do those specific jobs cleanly.
Building the funnel: a step-by-step walkthrough
Here is how to build a functioning WooCommerce sales funnel from scratch. We will move through the stages in the order that delivers the fastest return: checkout first, then post-purchase, then product page, then related products.
Step 1 — Choose the right plugin
The plugin choice shapes everything that follows. There are broadly two categories: full funnel builders that replace your WooCommerce checkout (like FunnelKit or CartFlows ), and checkout-native tools that add offers to your existing flow without replacing it.
Full funnel builders are powerful — and appropriately complex. They require you to design custom checkout pages, understand funnel logic, and manage a significant learning curve. For stores running paid ad campaigns where the checkout page itself is a conversion bottleneck, this complexity is worth it.
For most WooCommerce stores — particularly those that already have a working checkout flow and simply want to add order bumps, post-purchase offers, and a smarter related products grid — a focused, checkout-native tool is a better starting point. It delivers 80% of the revenue benefit at 20% of the setup complexity.
Step 2 — Set up your first order bump at checkout
The order bump is the single highest-return component of any WooCommerce funnel. Start here. Before building anything else. A single well-matched bump at checkout will outperform a full product-page upsell strategy at a fraction of the setup time.
The formula for a good bump is this: find the product that most of your customers will obviously need alongside their main purchase, price it 10–20% lower than its normal standalone price, and place it as a one-click checkbox above the payment button. Do not overthink the offer copy. “Add for just $X — included in your order” is enough.

In Smart Funnel, creating a bump takes about five minutes. Open the Order Bumps tab, click “Create New Bump,” select the product, set the discount, and define the targeting condition — which product in the cart triggers this offer. Save, and the bump is live.


Step 3 — Add a post-purchase upsell modal
Once the bump is live and performing, layer in the post-purchase offer. This is the modal that appears on the thank-you page immediately after the order is confirmed. The customer has just successfully completed a transaction. They are in a positive, satisfied state of mind. The buying momentum from that decision has not fully dissipated yet.
The post-purchase offer works differently from the order bump in one important way: the customer does not re-enter payment details. The charge is added to their existing payment method automatically. That seamlessness is what makes it possible to offer something meaningfully larger here — a second product, a service add-on, an extended warranty — that would have felt too much to include as a bump.


Step 4 — Configure smart related products
Related products appear on the checkout and product pages, giving customers the opportunity to add complementary items before they finalise their order. Unlike the order bump — which is a single focused offer — the related products grid shows several options, allowing customers who want to complete their purchase with accessories or paired items to do so with a single click.
The “smart” part matters. A static grid that shows random products from the same category converts poorly. A grid that learns from your actual order history — surfacing products that customers genuinely tend to buy together — converts meaningfully better over time. Smart Funnel’s related products mode starts learning from the moment you activate it.

Step 5 — Read the dashboard. Actually read it.
Most store owners set up offers and never look at the data. This is the step that separates stores that steadily improve from stores that set things up once and hope for the best.
The dashboard tells you three things that matter: how many times each offer was shown (impressions), how many times it was accepted (conversions), and how much revenue it generated. The acceptance rate — conversions divided by impressions — is your diagnostic metric. A bump showing to 100 customers and accepted by 3 needs work. A bump accepted by 22 out of 100 is healthy. The product selection, the price, and the offer message are the three variables to adjust.

The funnel mistakes that quietly kill conversion rates
Knowing what to build is half the job. Knowing what destroys a funnel’s effectiveness is the other half. These are the mistakes that appear most often in WooCommerce stores that have tried to build a funnel and seen disappointing results.
Showing a random bestseller as a bump instead of something genuinely paired with what is in the cart. A customer buying a yoga mat does not need your bestselling kitchen timer at checkout. An irrelevant bump does not just fail to convert — it creates a moment of cognitive friction that makes the customer question whether they are dealing with a store that understands them.
A bump on checkout, a popup when they add to cart, a floating bar offering a discount, and five “frequently bought together” items on the product page. Each individual offer might be reasonable; all of them together signal desperation. Decision fatigue is real — and a customer overwhelmed by suggestions will often make no decision at all, including the one to complete the checkout.
Full funnel builders that replace the WooCommerce checkout are powerful, but introducing them to a store with a healthy existing conversion rate is a real risk. If the custom checkout page has a layout issue, a mobile rendering bug, or a compatibility problem with a payment gateway, you can easily end up with a lower checkout conversion rate that negates everything the funnel adds. Add offers to your existing checkout before you consider replacing it.
A 3% acceptance rate is not a failure of the funnel concept — it is a signal that the product pairing needs work. A 25% acceptance rate is not the ceiling — it might mean you could increase the price. Without reading your dashboard, you are flying blind. Check acceptance rates every two weeks for the first two months. One iteration based on real data is worth more than a dozen strategic decisions made without it.
A bump with a misleadingly small decline button, aggressive countdown timers, or copy that makes the customer feel foolish for skipping — these patterns generate short-term acceptance at the cost of long-term trust. The customer who felt pressured into adding something will notice when the order arrives. The customer who declined a well-presented offer and still had a smooth checkout is the one who comes back.
What does a realistic revenue lift actually look like?
Concrete numbers help. Here is what a WooCommerce funnel with a single bump and a post-purchase offer looks like in practice, across three different store sizes.
| Store size | Monthly orders | Bump offer | Accept rate | Extra/month |
|---|---|---|---|---|
| Small | 100 orders | $12 bump | 15% | $180/mo |
| Medium | 400 orders | $18 bump | 20% | $1,440/mo |
| Large | 1,200 orders | $22 bump | 22% | $5,808/mo |
These figures are from the order bump alone, before adding a post-purchase upsell. A post-purchase offer at 12% acceptance on a $25 product adds another $300, $1,200, or $3,600/month respectively — from the same orders, same traffic, same products.
Frequently asked questions
Where to start — the honest recommendation
If you are building a WooCommerce sales funnel for the first time, the temptation is to plan comprehensively — map every stage, configure every offer, optimise every placement before launch. Resist it.
Start with one order bump. Pick your best-selling product. Identify the single most obvious complementary item. Set it as a checkout offer at a 10% discount. Activate it. Wait two weeks. Check the acceptance rate. Adjust the product or the price if it is below 8%. Expand from there.
A funnel built incrementally on real data outperforms a funnel architected entirely in theory. The revenue compounds because each iteration is built on evidence — and evidence, in WooCommerce, means the checkout dashboard telling you exactly what your customers responded to.
Smart Funnel — the fastest path from zero to a working WooCommerce funnel
Order bumps at checkout. Post-purchase upsell modal. Smart related products grid. Performance dashboard. Everything a WooCommerce funnel needs — in one plugin, from one admin, starting at $39/year.





I picked up this guide hoping to finally figure out why my grandkids' WooCommerce shop isn't making the sales it could be. the section on checkout pages and post purchase offers really stood out we do have one, but honestly, it's just sitting there collecting dust. that 5% lift example? Man, I wish I'd seen that sooner. Still, I'm left scratching my head: if two stores have the same traffic and products, why does one funnel work and the other doesn't?
Hey guys, a teammate sent me this guide since I've been messing with WooCommerce for my side hustle. The side by side store comparison got my attention same traffic, but one pulls in nearly double? okay, that's wild
The guide says the revenue gap between stores isn't about ads or SEO, but it never really explains what else could be causing it. like, if two stores have the same traffic and products, wouldn't things like pricing, shipping costs, or even customer service actually make a bigger difference than just slapping a funnel on there?
Hey! Grabbed this guide after seeing it pop up on Instagram. the part about two stores with the same traffic but totally different sales? Wild. Makes you realize how much you're leaving on the table without a real plan