
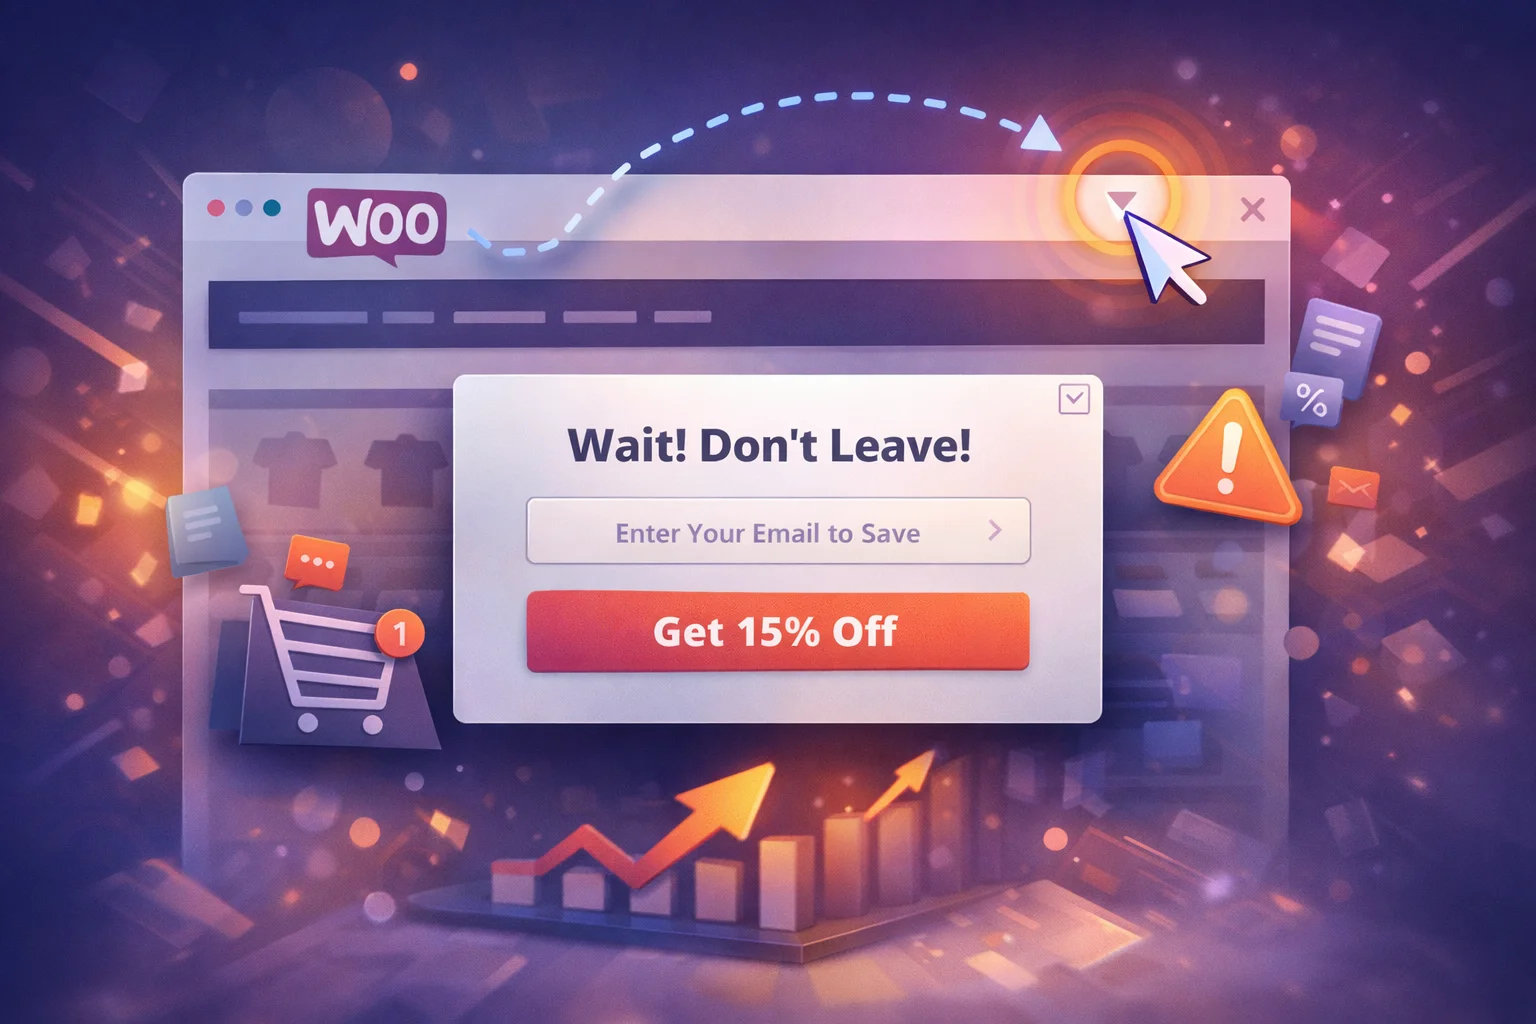
Exit-intent technology works by monitoring the visitor’s mouse behavior on desktop (and scroll behavior on mobile) to detect the moment when they are about to leave the page. At that precise instant, a notification appears with a relevant offer or message designed to give the visitor one final reason to stay and complete their action.
The concept is simple, but the execution details matter enormously. A poorly configured exit-intent popup fires too early, targets the wrong visitors, or delivers a message that does not match the visitor’s context. A well-configured one triggers only when there is genuine intent to leave, targets visitors with actual purchase potential, and delivers a message that directly addresses why they might be hesitating.
This guide walks through the complete setup process using a WooCommerce popup plugin, from initial configuration through targeting and timing rules, with specific attention to the settings that determine whether your exit-intent popup will recover abandoned carts or simply irritate visitors on their way out.
How exit-intent detection actually works
On desktop browsers, exit-intent detection tracks the visitor’s cursor position. When the cursor moves rapidly toward the top of the browser window, specifically toward the address bar, browser tabs, or the close button, the system interprets this as a signal that the visitor is about to navigate away or close the tab. The popup triggers at that moment.
On mobile devices, exit-intent works differently because there is no cursor to track. Mobile exit-intent typically relies on scroll behavior patterns, such as rapid upward scrolling (which often precedes using the back button), browser tab switching gestures, or address bar interactions. Mobile exit-intent is inherently less precise than desktop, which is worth keeping in mind when evaluating your campaign’s performance data.
The practical implication is that your exit-intent popup should be designed to perform well on both desktop and mobile, with appropriate differences in styling and perhaps even different offers for each device type.
Step 1: Create a new notification campaign
Start by creating a new campaign in your popup manager. The first tab is where you define the campaign’s basic identity: its name, status, and core configuration parameters. Keep the name descriptive so you can identify it easily when managing multiple campaigns. Something like “Exit Intent – Cart Page – 10% Off” is immediately clear about what the campaign does.

Step 2: Write the offer message
The content of your exit-intent popup needs to accomplish one thing: give the visitor a reason to reconsider. The message should be direct, the discount code should be immediately visible, and the visitor should understand what to do next without any cognitive effort. This is not the place for clever copywriting or brand storytelling. It is the place for clear, direct value communication.
Effective exit-intent messages typically follow this pattern: acknowledge the situation (“Before you go”), state the offer (“Here’s 10% off your order”), and provide the mechanism (“Use code SAVE10 at checkout”). Three elements, three seconds of reading time, one clear action.

Step 3: Match the visual design to your store
An exit-intent popup that looks like it was injected from an external advertising platform immediately triggers the visitor’s “ad blindness” reflex. The popup needs to look like a natural part of your store. Use your brand’s color palette, keep the typography consistent with your site, and avoid garish gradients or over-designed visual elements that scream “marketing popup.”

Step 4: Set up display behavior and placement
The display settings determine where on the page the notification appears and how it behaves. For exit-intent campaigns, you have a choice between modal overlays (which demand attention but feel more aggressive) and slide-in notifications (which are less disruptive but may get less attention). The right choice depends on how aggressive you want the intervention to be.
For most WooCommerce stores, a slide-in notification or a non-blocking popup positioned at the bottom of the screen tends to perform better for exit-intent scenarios because it catches attention without creating the negative emotional response that full-screen overlays generate.

Step 5: Configure targeting rules
This is the most important step. Without proper targeting, your exit-intent popup will fire for every visitor on every page, which is exactly the behavior that makes popups annoying. For a cart recovery exit-intent campaign, you should target specifically the cart page and checkout page, and ideally only visitors who have items in their cart.
The targeting tab in a WooCommerce popup plugin with page-level targeting and audience conditions lets you define these rules precisely. Set the page condition to your cart and checkout URLs, and configure the audience condition to logged-in users or guests with cart contents if available.

Step 6: Set timing and frequency limits
The final configuration step is timing. You need to decide how long a visitor must be on the page before the exit-intent listener activates, and how often the popup can be shown to the same visitor. A minimum on-page time of 10 to 15 seconds prevents the popup from triggering on visitors who immediately bounce. A frequency cap of once per session (or once per day) prevents the same visitor from seeing the popup repeatedly.

The finished result on your storefront
After completing all six steps, test the popup on your live store. Visit your cart page, add items, and then move your cursor toward the top of the browser window. The notification should appear smoothly, display your offer clearly, and be easy to dismiss. If it does not feel natural as a visitor, adjust the styling or placement before launching the campaign.

Run your exit-intent campaign for at least two weeks before evaluating its performance. Short observation periods are heavily affected by traffic fluctuations and do not give you enough data to distinguish real conversion impact from noise. After two weeks, compare the coupon redemption rate from the exit-intent campaign against your baseline conversion rate for cart-page visitors to determine the actual incremental revenue the popup is generating.
Common mistakes to avoid
Even with the right tool, exit-intent campaigns can fail if the fundamentals are wrong. Here are the most common mistakes and how to avoid them:
Showing the exit-intent popup on your homepage, blog posts, and product pages in addition to the cart page dilutes its impact. Reserve exit-intent for high-value pages where the visitor has demonstrated purchase intent.
Without a frequency cap, a visitor who decides not to accept the offer will see it again on their next visit, and the next one, and the next one. Cap display frequency to once per session or once per 24 hours.
A 5% discount often is not enough to change a visitor’s decision. A 30% discount eats your margins and trains visitors to always expect a deal. For most WooCommerce stores, 10% to 15% hits the sweet spot where the incentive is meaningful without being destructive to your pricing model.
Exit-intent popups are one of the most effective tools available for WooCommerce cart recovery, but only when they are set up with precision and restraint. The complete setup described in this guide can be done in under 15 minutes with a WooCommerce exit-intent popup plugin with targeting, timing, and scheduling controls, and the performance gains compound over time as you refine your messaging and targeting based on real conversion data.
Catch visitors at the moment they decide to leave
Configure exit-intent detection, set targeting rules, adjust timing, and style your notification to match your store. All from one intuitive campaign builder.





The popup timing settings actually work no annoying early triggers. Took some tweaking, but once set right, it only fires when visitors are truly leaving. Still wish the "three second read" rule was more flexible for complex offers
Quick question about the exit intent setup. The guide talks about setting a minimum time on page to avoid popping up for quick bounces, but how do you actually pick which pages get the popup? like, if I only want it on product pages and checkout not blog posts where do I set that in the targeting rules? The step by step kinda glides right over page level exclusions, and I'm stuck figuring it out
Still helpful overall.