Next-Level Code. Nexuvibe Style ...
Hrs
Min
Sec

Every touchpoint your business has with a client is a branding opportunity. Most businesses invest heavily in how their website looks, how their packaging feels, and how their team communicates. Very few apply the same intentionality to their invoices — which is a missed opportunity, because an invoice is often one of the most-seen documents in a commercial relationship.
A B2B client who orders from you regularly will see your invoice more often than they visit your website. It gets forwarded to their accounts team. It gets filed in their accounting software. It’s reviewed during payment runs and referenced during audits. The impression it creates — organized or chaotic, professional or generic, branded or anonymous — shapes how they perceive your business at every one of those moments.
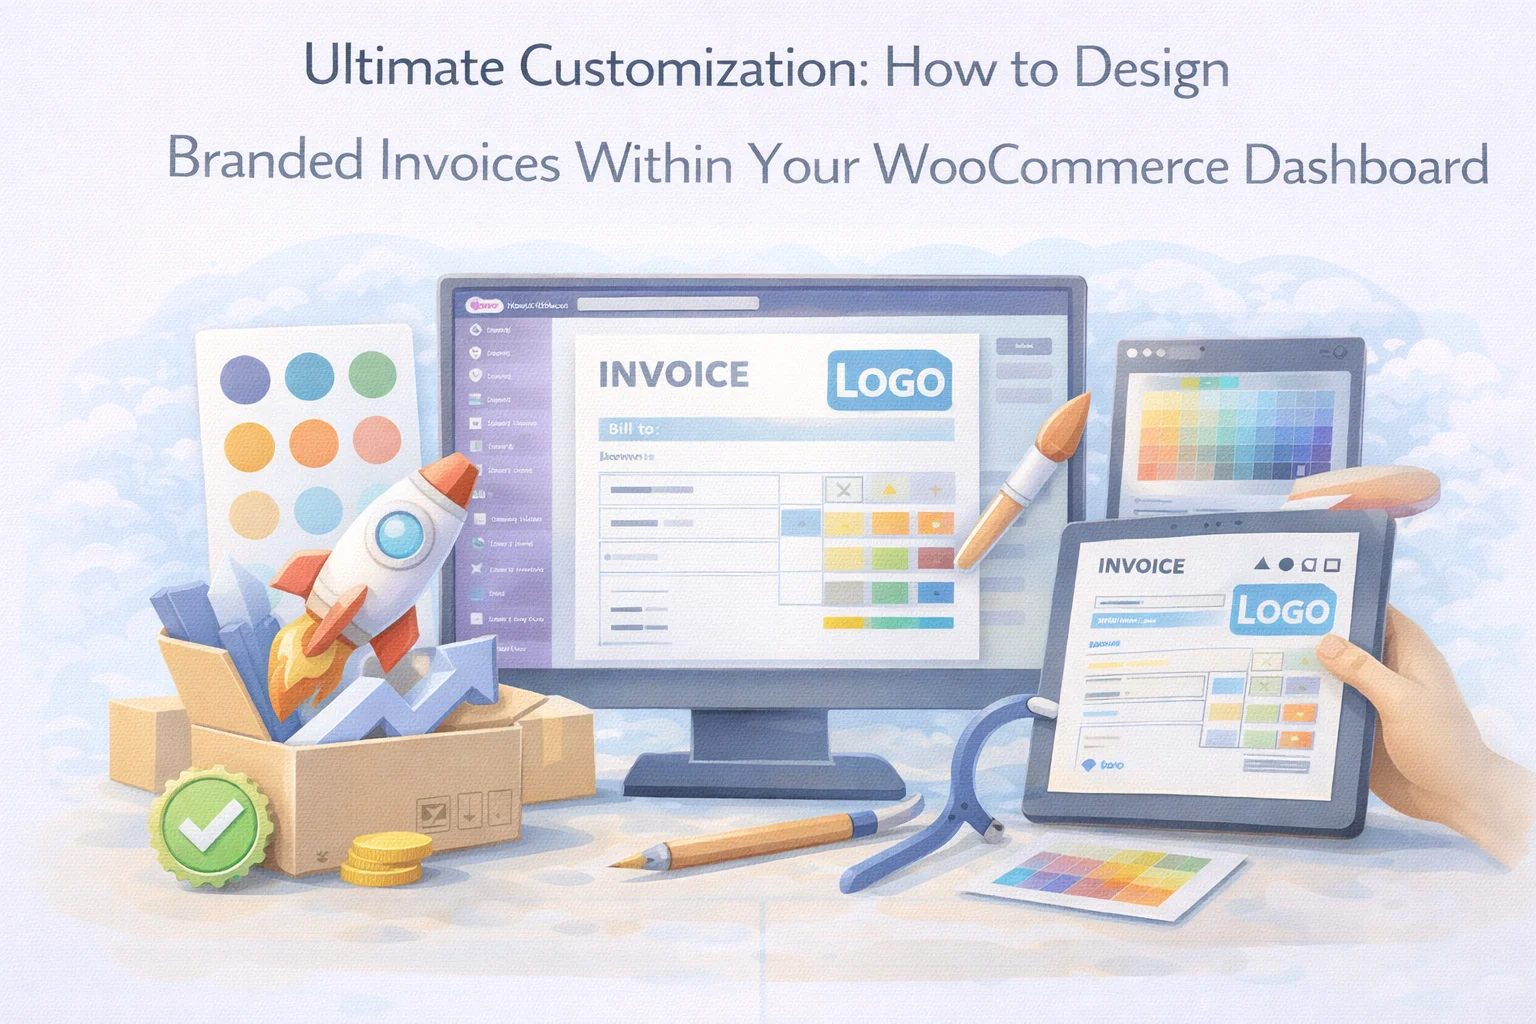
This guide covers how to design branded, professional invoices entirely within your WooCommerce dashboard using the WooCommerce branded invoice design and customization plugin — no external software, no design tools, no developer required. We cover every customization layer available and explain what each one accomplishes beyond its surface appearance.
Out of the box, WooCommerce generates an order confirmation email when a purchase is completed. It contains the order number, the list of items purchased, the totals, and the shipping address. For a retail customer who just bought something from your storefront, this email is sufficient — it confirms the transaction and provides a reference number.
It is not an invoice. An invoice has a sequential invoice number (separate from an order number) that complies with accounting and tax record requirements. It has your full legal business name and registration details. It has the client’s billing information, not just a shipping address. It has a clearly stated payment due date, the tax breakdown required by your jurisdiction, and optionally your bank details or payment terms. It is formatted as a standalone document, not as an email notification.
The settings tab is where you configure the information that appears on every invoice you create. Think of it as your business identity layer — the details that establish who is sending the invoice and make it immediately identifiable as coming from your specific business.
Upload your business logo from the WordPress media library. The logo appears in the invoice header — the first thing the client sees when they open the document. Use your primary logo file at a high enough resolution to look sharp both on screen and when printed. This single element does more for invoice credibility than any other change you can make.
Enter your full legal business name as it should appear on invoices — which may differ from your trading name or website name. Include your registered business address. For B2B clients, especially those in regulated industries, this information is required for their accounts payable systems and may be needed for VAT or tax compliance purposes.
Your phone number, email address, and website. These appear on the invoice as contact information for the recipient — important for clients who have questions about the invoice, need to discuss payment terms, or want to reach the right person without hunting through their email history to find who sent it.
Your VAT number, GST number, EIN, or equivalent tax registration identifier. For B2B transactions, this is often a legal requirement on the invoice. Your business clients need your tax number to process the invoice through their accounting system and to claim input tax credits where applicable. Missing this from an invoice can cause payment delays while clients request it separately.
Configure your invoice number prefix — for example, INV-, 2026-, or your business initials. Sequential invoice numbers with a consistent format make filing and reference easier for both you and your clients. They also satisfy the sequential numbering requirements of most tax jurisdictions. A clear numbering format signals an organized operation to anyone who looks at your invoice history.
While the settings tab configures the business identity that appears on every invoice, the extra tab gives you per-invoice customization — the ability to add specific notes, payment terms, conditions, or information that is relevant to this particular transaction.
The extra tab is where the invoice stops being a generic billing document and starts being a communication specific to a relationship. Here are the most effective ways to use it.
Use this field to state the agreed payment terms in plain language: “Payment due within 14 days of invoice date,” “30% deposit required to confirm order, balance due prior to delivery,” or “Net 30 — payment due by [date].” The due date field provides the formal date; the notes field provides the context that makes the terms clear.
For orders involving physical products, include the agreed delivery timeline, any special delivery instructions, or the conditions under which the order will ship. This information on the invoice reduces follow-up queries about delivery and sets clear expectations in a document the client will reference.
Many B2B clients, especially in government, corporate, or procurement-heavy industries, require invoices to reference their internal purchase order number. Including “Client PO Ref: [number]” in the invoice notes means the client’s accounts payable team can immediately match your invoice to their internal system — which is often what holds up payment when it’s missing.
For product sales with a warranty, or service engagements with specific terms, stating these on the invoice creates a documented agreement. “This invoice covers a 12-month parts and labor warranty” or “Services governed by the scope of work agreement dated [date]” makes the terms part of the billing record — reducing ambiguity if disputes arise later.
For ongoing client relationships, a short personal note adds warmth to an otherwise transactional document: “Thank you for your continued business — we look forward to delivering this order by [date].” It’s a small addition, but it distinguishes your invoice from the dozens of other billing documents your client receives from suppliers who never personalize anything.
Invoice design isn’t only about visual branding — it’s also about clarity of information. The items tab, where you build the line items of the invoice, is where clarity either succeeds or fails. An invoice where the client immediately understands exactly what they’re paying for, why each line item exists, and what the total represents is a fundamentally better invoice regardless of how it looks.
With settings configured and per-invoice customization applied, here is what your client actually receives and sees — and why each element earns its place in the document.
Run through this checklist before sending any invoice to a business client. It takes thirty seconds and eliminates the most common reasons invoices get questioned, delayed, or returned for correction.
Invoice design is not about making something look impressive. It’s about making something that works — that answers the questions a client has before they think to ask them, that contains the information their accounts payable team needs without requiring a follow-up email, and that presents your business in a way that matches the quality of what you’re selling. The WooCommerce invoice customization plugin for branded professional billing gives you every element you need to build that invoice without leaving your WordPress dashboard.
Configure the settings tab once. Use the extra tab thoughtfully on each invoice. Write item descriptions that your clients understand. The result is a billing document that does what a great invoice is supposed to do: communicate clearly, represent your business well, and get paid without friction.
Your logo, business identity, tax details, sequential invoice numbers, per-invoice notes, and payment terms — every element of a professional invoice configured and sent from one panel inside WordPress.








Hey, just wanted to say this invoice plugin is awesome my clients even noticed how much more professional
Okay so I got this plugin up and running, and the basic branding looks sharp but now I'm stuck trying to figure out how to add different notes or payment terms for specific customers. like, if I have a wholesale client who gets net 30 terms, can I actually set that per invoice instead of making it global? the guide talks about customization but doesn't really show how to do it for individual invoices. Am I missing a setting somewhere, or is there a quicker way to handle this?
Finally got invoices that don't look like they came from a 2005 spreadsheet. Clients actually notice the branding now. Worth the impulse buy.