
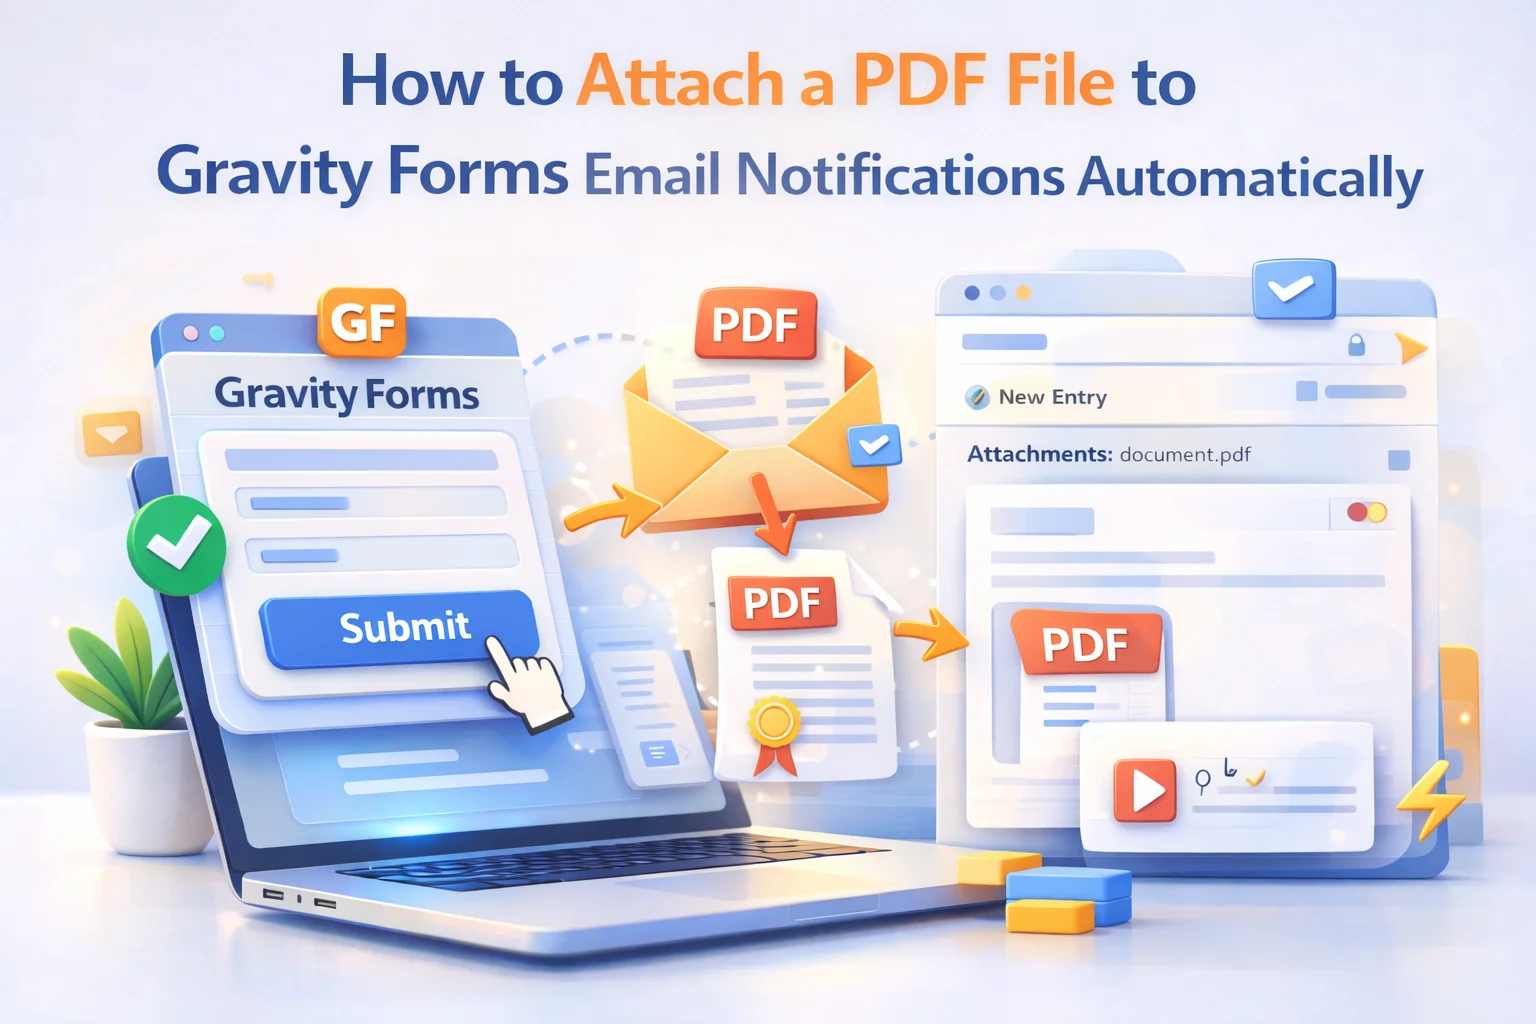
Gravity Forms already does email notifications well. When someone submits a form, a notification goes to the admin, another goes to the submitter, and the configuration for who gets what is flexible and well-documented. What Gravity Forms does not do natively is attach a generated PDF to those notifications. The notification emails go out with the form data in the body text, which is functional but falls well short of what most real-world business workflows require.
The gap between “notification with data in the body” and “notification with a formatted PDF attached” is the gap this guide closes. By the end, you will understand exactly how to generate a PDF from each Gravity Forms entry and attach that PDF to any notification email the form sends, whether that goes to the person who submitted the form, to your admin inbox, to a specific team member, or to all of the above simultaneously.
The tool for this is Nexu PDF Generator for Gravity Forms, which integrates directly with Gravity Forms’ notification system to make PDF attachment a feed-level configuration rather than a custom code problem. We will walk through the setup in detail, including the pieces that most guides skip, like how to test delivery reliably and how to prevent attachment-related issues in spam filters.
Let us get into it.
Why a PDF attachment is better than form data in the email body
Gravity Forms notification emails with form data in the body are useful for internal processing. You can see at a glance what someone submitted without logging into WordPress. But that format has real limitations as soon as the email needs to serve any other purpose.
For the person who submitted the form, an email containing a dump of their field values is not a document they can use. If they submitted an order form, they need an invoice, not a list of fields labeled “Product: Web design package, Quantity: 1, Price: $2500.” If they submitted a service request, they need a confirmation document they can reference and share. If they completed a training module, they need a certificate, not an email that says “Status: Completed.”
For your own records, a formatted PDF is also more useful than an email body. PDFs are searchable, archivable, printable, and sendable. When a client asks you to resend their invoice, you can forward the PDF. When an auditor asks for records, you can export the PDFs. When a team member needs to review a contract, they can open the PDF directly. An email body is none of those things.
Internal admin notifications can include raw field data in the body because the audience is your team, who knows how to read it. External notifications that go to form submitters should include a formatted PDF attachment, because the audience is a client or customer who expects a professional document, not a database export. The PDF does not replace the notification email. It accompanies it.
How Gravity Forms notifications work: the foundation you need to understand
Before configuring PDF attachments, it helps to have a clear picture of how Gravity Forms notifications work, because the PDF attachment connects directly to this system.
Each Gravity Form can have multiple notification rules. By default, Gravity Forms creates one notification when you build a form: an admin notification that sends to the site admin email. You can add as many additional notifications as you need, each with its own recipient address, subject line, message body, and conditional logic for when it fires.
A typical setup for a service business order form might have three notifications: one that goes to the admin inbox with all the order details, one that goes to the customer’s submitted email address with an order confirmation, and one that goes to the fulfillment team with just the relevant delivery information. Each notification has its own configuration and can receive different PDF attachments.
This notification goes to whoever filled out the form. The recipient is typically set using the email field merge tag from your form, so each submitter receives a notification at the email address they provided. This is the notification where a client-facing PDF (invoice, contract, certificate, confirmation document) should be attached. The submitter’s copy of the document arrives automatically with the confirmation email.
This notification goes to your internal email address or your team’s shared inbox. Attaching the PDF to this notification gives you an automatic archive copy of every document generated, organized in your email with the submission context. You can also attach a different PDF version to the admin notification, for example an internal summary document rather than the client-facing invoice, if your workflow benefits from distinct internal and external document versions.
Gravity Forms supports routing notifications to different addresses based on form field values using conditional logic. A form where the customer selects their account manager, for example, can route the notification to that specific manager’s email with the relevant PDF attached. This is particularly useful for agencies, real estate firms, or any operation where different staff handle different clients or account types.
Step-by-step: connecting the PDF feed to your notifications
Here is exactly how the PDF-to-notification connection works in Nexu PDF Generator, from the initial feed creation through to testing delivery.

Before configuring the PDF attachment, make sure your Gravity Forms notifications are set up with the correct recipients, subjects, and message bodies. Go to your form’s Settings > Notifications and review or create the notifications you need. The PDF feed will reference these by name, so they need to exist before you configure the attachment.
In your form’s settings, go to the PDF section and add a new feed. Choose the document type (Invoice, Contract, Certificate, or Document), set the direction (LTR or RTL), and write the template content using field merge tags to pull dynamic data from the entry. This is the document that will be generated and attached when the form is submitted.
Within the feed settings, there is a notification attachment section that lists all the notifications you have configured for this form. You select which notifications this PDF feed should attach to. You can select multiple notifications simultaneously. The PDF is generated once per entry and attached to whichever notifications you have checked. Each attached copy is identical.
Set a meaningful filename for the generated PDF using a combination of static text and merge tags. A good pattern for an invoice might be “Invoice-{entry_id}-{client_name}.pdf” or “Invoice-{date}.pdf”. This filename is what appears in the email attachment and in the downloaded file. A descriptive filename helps recipients organize and find the document later without having to open it to identify what it contains.
Submit the form using a real email address you have access to. Check that the notification arrives with the PDF attached, that the attachment opens correctly and displays the right data, and that the filename matches what you configured. Also check the entries list in WordPress admin to confirm the entry shows the PDF action button. Run at least three test submissions with different data to catch any field mapping issues before going live.

Sending different PDFs to different recipients from the same form
One of the most useful capabilities of the feed-based system is that you can create multiple PDF feeds on the same form, each attached to a different notification. This means different recipients can receive different PDF documents from the same form submission, without any additional complexity on the form design side.
A concrete example: a new client onboarding form. When submitted, it triggers three distinct workflows simultaneously. The client receives a welcome email with their service agreement PDF attached. Your accounts team receives an internal notification with an invoice PDF attached. Your project management team receives a project brief PDF attached with the technical requirements and timeline data. Three notifications, three different PDFs, one form submission. Each feed is configured separately and attached to its designated notification.
Law firms use this to send a client-facing engagement letter to the client and an internal matter opening document to the case management team from a single client intake form. Event companies send a booking confirmation PDF to the client and a logistics summary PDF to the operations team. Property managers send a tenancy agreement to the tenant and a property management record to the internal system. The pattern is always the same: one form submission, multiple purpose-built documents, each going to the right recipient automatically.

Getting email delivery right: SMTP, spam filters, and attachment size
The most common reason PDF attachments fail to arrive is not a plugin configuration problem. It is a mail delivery problem that would affect any attachment, with or without a PDF generator. Understanding the three main failure modes will save you significant troubleshooting time.
WordPress sends email via PHP mail by default, which most email providers increasingly reject or route to spam. PDF attachments make this worse because attachments are a common spam signal when the sending reputation is low. Install an SMTP plugin, WP Mail SMTP, FluentSMTP, and Easy WP SMTP are all solid options, and configure it to send through a transactional email service like SendGrid, Mailgun, or Amazon SES. This single change resolves the majority of email delivery issues on WordPress sites.
Most transactional email services have attachment size limits, typically between 10MB and 25MB per message. For text-heavy documents like invoices, contracts, and certificates, a well-configured PDF is almost always under 500KB and usually under 100KB. Problems arise when high-resolution images are embedded in the template without optimization. Use compressed images in your PDF template and verify the output file size with a few test submissions before going live with a high-volume form.
Some corporate email filters block messages with PDF attachments from unknown senders as a security measure. If your clients frequently use corporate email addresses with strict filtering, consider adding a note in your form’s confirmation message that advises them to check their spam folder for the confirmation email. You can also offer the PDF as a confirmation page download link as a backup delivery channel, so clients always have access even if the email is filtered.
Admin access: reviewing sent PDFs from the entries list
Every PDF generated by a feed is accessible from the entry it was created from. The Gravity Forms entries list shows a PDF action button on each row, giving you direct access to download any entry’s generated PDF without opening the full entry detail view. This is the fastest way to retrieve a specific document for review, resending, or record keeping.

Diagnosing common issues quickly
Every Gravity Forms notification can carry a PDF. Set it up once and it runs forever.
Nexu PDF Generator attaches automatically generated PDF documents to any Gravity Forms notification email. One feed, multiple notifications, different PDFs for different recipients, all configured without writing a single line of code.






Hey this works great for resending invoices as PDFs!
Finally got this working after years of manually emailing PDFs to clients like some kind of cave person. the step by step guide in the settings header broke it down so simply just set up the feed in Gravity Forms, map the fields, and boom, every submission now auto sends a clean PDF. no more "Hey, can you resend that?
Hey guys, just set this up for client invoices and wow the submitter notification now includes a clean PDF instead of just raw form data. No more copy pasting into Word to make it look decent. saved me hours already
Does this work with conditional logic in forms?