Next-Level Code. Nexuvibe Style ...
Hrs
Min
Sec

Here is something that most WordPress email troubleshooting guides do not tell you clearly enough: configuring SMTP is necessary but not sufficient for reliable email deliverability. SMTP gets your email out of your web server and into a proper mail server’s queue. What happens after that, whether the receiving mail server accepts it, places it in the inbox, or quietly sends it to spam, depends on a layer of DNS configuration that has nothing to do with your WordPress settings.
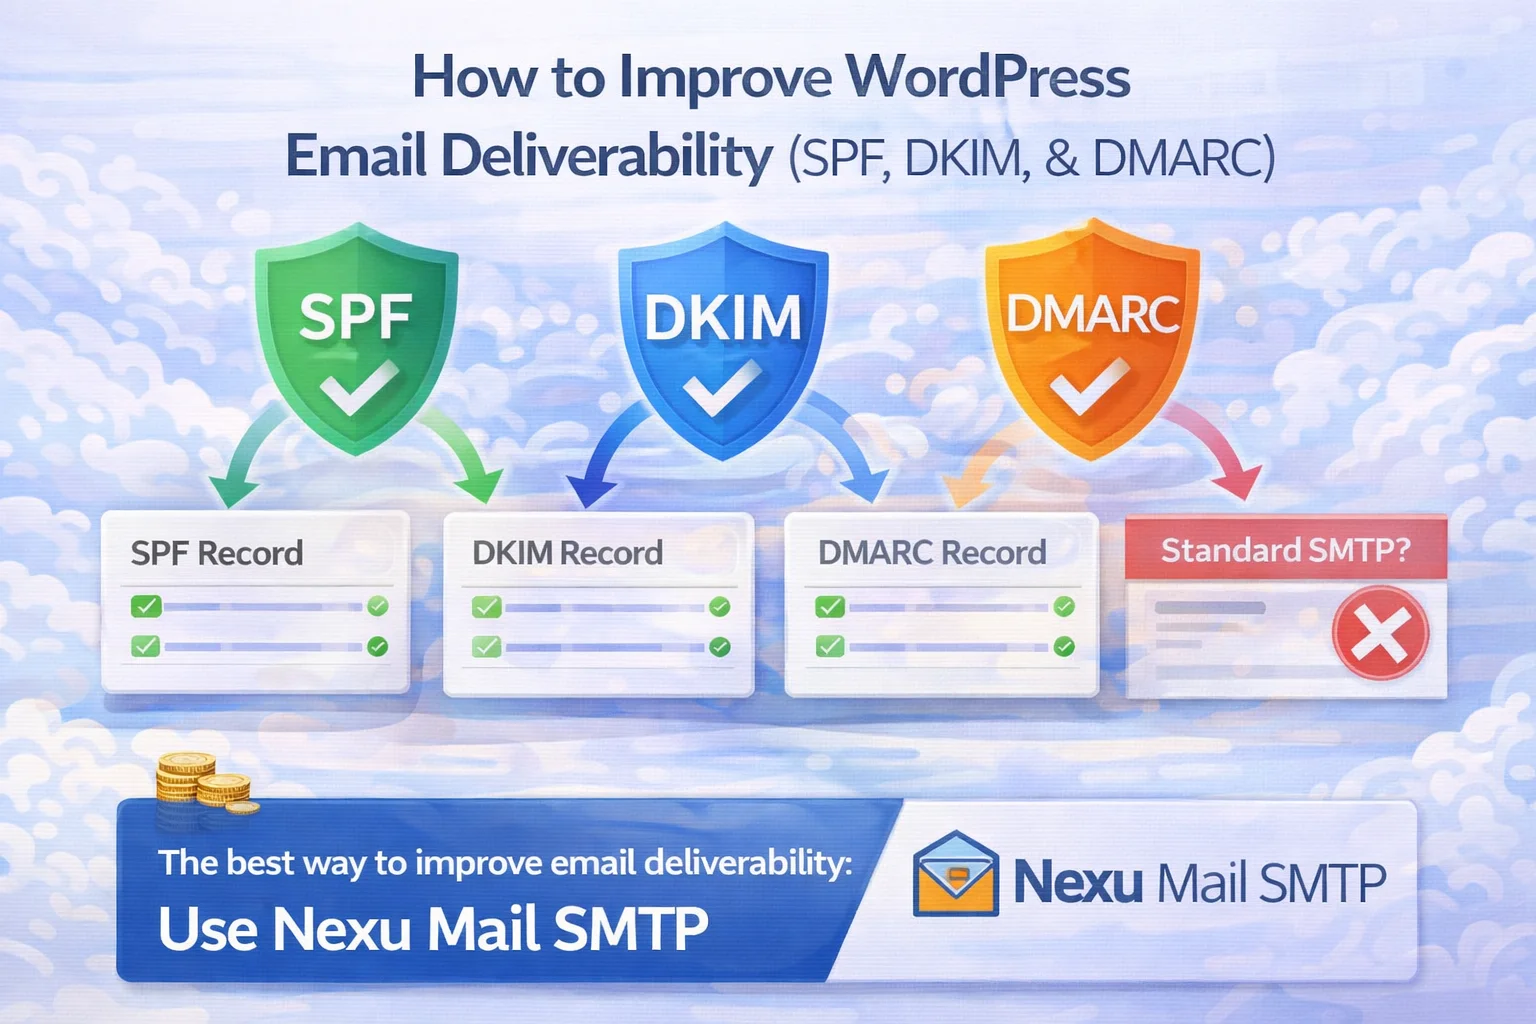
That layer is your email authentication records: SPF, DKIM, and DMARC. These are DNS records published on your domain that tell every receiving mail server in the world which servers are authorized to send email on your behalf, whether a specific email’s authenticity can be cryptographically verified, and what to do with messages that fail those checks. Without them, even email sent through Gmail’s SMTP infrastructure can be treated with suspicion by aggressive spam filters.
This guide covers all three records in real depth, not just “add this DNS entry” but why each record exists, exactly what it does, how to create each one correctly for your specific email provider, how to verify it is working, and how the three records work together to give your domain a complete email authentication posture that the most demanding spam filters respect.
We also cover the relationship between these DNS records and the SMTP plugin you are using, because an SMTP plugin that logs every email your WordPress site sends is the essential tool for verifying that your authentication records are actually producing improved deliverability after you set them up.
Understanding why authentication records matter starts with understanding what actually happens when an email is sent. The journey from your WordPress site to a recipient’s inbox involves a sequence of automated checks that happen in milliseconds, and each one is an opportunity for your email to be rejected, filtered, or flagged.
Your SMTP plugin intercepts the wp_mail() call and redirects it to your configured SMTP provider. Gmail, SendGrid, or whichever service you use. The message is queued for delivery.
If DKIM is configured for your domain, your sending mail server adds a cryptographic signature to the email headers before dispatching it. This signature is generated using a private key that only your email provider holds.
The receiving mail server looks up the SPF record for your sending domain. It checks whether the IP address that delivered the email is listed as an authorized sender. If the IP is not listed, the check fails, this is the authentication failure that routes mail to spam.
The receiving server retrieves the public DKIM key from your domain’s DNS and uses it to verify the signature embedded in the email headers. A valid signature proves the email genuinely came from your domain and was not modified in transit.
The receiving server checks your DMARC record to see what you have instructed it to do with messages that fail SPF or DKIM. If at least one check passes and aligns with the From domain, the email passes DMARC. If both fail, your policy determines whether the email is rejected, quarantined, or allowed through with a report.
Only after all authentication checks pass does the spam filter examine the email content itself, subject line, body text, links, image ratio, and sender reputation score. An email that passes all authentication checks starts content analysis with a significantly higher trust baseline than one that failed authentication.
An SPF (Sender Policy Framework) record is a DNS TXT record that lists which mail servers are authorized to send email for your domain. When a receiving server gets an email claiming to be from [email protected], it checks your domain’s SPF record to verify that the server that actually delivered the message is on the approved list.
v=spf1 include:_spf.google.com include:sendgrid.net ~all
v=spf1Version declaration, always starts every SPF record.include:Imports the SPF record from another domain, used to authorize your email provider’s servers by reference.~allSoft fail, messages from unlisted servers are accepted but marked as suspicious. Use -all for hard fail (rejected) once you are confident your record is complete.If you already have an SPF record and you need to add a new email provider, you must modify the existing record, never create a second one. Having two SPF records on the same domain causes both to be ignored by receiving servers, breaking SPF authentication entirely. To add Gmail to an existing record: if you have v=spf1 include:sendgrid.net ~all, change it to v=spf1 include:sendgrid.net include:_spf.google.com ~all.
SPF records are limited to a maximum of 10 DNS lookups during processing. Each include: statement typically consumes 1–3 lookups. If your SPF record causes more than 10 DNS lookups, the check fails with a “permerror”. a permanent error that cannot be overridden. If you use many services, keep an eye on your lookup count using a tool like MXToolbox’s SPF checker, which reports the total lookup count.
DKIM (DomainKeys Identified Mail) adds a cryptographic signature to every email your provider sends on your behalf. The receiving server uses a public key published in your DNS to verify this signature. If the signature is valid, it proves two things conclusively: the email was genuinely sent by an entity that controls your domain’s DKIM key, and the email content was not modified in transit.
DKIM is arguably the most powerful of the three authentication records because it provides cryptographic certainty rather than policy-based authorization. SPF says “this server is allowed to send for this domain.” DKIM says “this specific email was signed by this domain’s private key, which only an authorized sender could have used.” The difference is significant from a trust perspective.
Host: google._domainkey.yourdomain.com
Type: TXT
Value: v=DKIM1; k=rsa; p=MIGfMA0GCSqGSIb3DQEBA...
The p= value is the public key, a long string of characters that is unique to your account and domain. You never type this manually; your email provider generates it and gives you the complete DNS record to add.
In the Google Admin Console, navigate to Apps > Google Workspace > Gmail > Authenticate email. Select your domain and click Generate new record. Choose a 2048-bit key (the most secure option). Google will provide a complete TXT record to add to your domain’s DNS. After adding the record and allowing DNS propagation (up to 48 hours), return to this page and click Start authentication. Important: free Gmail accounts cannot configure DKIM signing for custom domains, this feature is exclusive to Google Workspace.
google._domainkey.yourdomain.comIn your SendGrid account, go to Settings > Sender Authentication > Domain Authentication. Click Authenticate your domain, select your DNS provider, and enter your domain name. SendGrid will generate two CNAME records (not TXT records) to add to your DNS. These CNAME records handle both DKIM signing and SPF alignment automatically. After adding the records and allowing propagation, click Verify in SendGrid to confirm they are reading correctly. SendGrid’s approach simplifies DKIM setup significantly compared to some providers.
In Mailgun, go to Sending > Domains and add your domain. Mailgun will provide a set of DNS records including a TXT record for SPF, two TXT records for DKIM, and optionally a CNAME for tracking. The DKIM TXT record hostname will be in the format k1._domainkey.yourdomain.com. After adding all provided records, click Check DNS Records in Mailgun to verify. Green checkmarks on all records confirms your domain is fully authenticated.
DMARC (Domain-based Message Authentication, Reporting and Conformance) is the policy layer that ties SPF and DKIM together. A DMARC record tells receiving servers what to do with messages that fail authentication checks, and it adds a reporting mechanism that sends you data about your email authentication results from across the internet.
DMARC also introduces the concept of alignment, meaning the domain in the From header must match (or be a subdomain of) the domain that SPF or DKIM verified. This closes a loophole where someone could pass SPF for one domain while displaying a different domain in the From address. With DMARC alignment enforced, the domain your users see must be the domain that is actually authenticated.
v=DMARC1; p=none; rua=mailto:[email protected]; ruf=mailto:[email protected]; fo=1
v=DMARC1Version, always the same in every DMARC record.p=nonePolicy: none = monitor only, quarantine = send to spam, reject = block entirely. Always start with none.rua=Aggregate report address, where daily DMARC summary reports are sent.ruf=Forensic report address, where individual failure reports are sent (optional, may be omitted for privacy).fo=1Failure reporting options. 1 = report if any mechanism fails (recommended for monitoring).
This is where most people make a costly mistake: jumping straight to a strict DMARC policy (p=reject) before verifying that all legitimate sending sources pass authentication. The result is blocking your own email. Follow this sequence and the risk drops to near zero.
p=none and collect reportsAdd your DMARC record with p=none. This tells receiving servers to take no action on failing messages, it is purely a monitoring mode. The rua reports that start arriving will show you all sources sending email claiming to be from your domain, including any you did not know about (third-party services, old mailing list platforms, etc.). Review these reports carefully, every legitimate source should pass SPF or DKIM before you move to a stricter policy.
Review your DMARC aggregate reports (tools like DMARC Analyzer, Postmark’s free DMARC tool, or Google Postmaster Tools make these readable). For every sending source that appears in the reports, verify it has SPF and DKIM configured correctly. Add missing providers to your SPF record. If a source is a service you no longer use, this is the opportunity to identify and remove that authorization.
p=quarantineOnce your DMARC reports show that your legitimate email is passing consistently (ideally 95%+ of volume passing SPF or DKIM alignment), update your policy to p=quarantine. This sends failing messages to spam rather than delivering them normally. Continue monitoring reports to ensure no legitimate sending sources are now failing. If they are, fix the source authentication before proceeding.
p=reject for maximum protectionWith consistent passing rates at quarantine, you can move to p=reject. This instructs receiving servers to block any email claiming to be from your domain that fails authentication, completely protecting your domain from email spoofing and phishing. Maintain your monitoring and be prepared to roll back quickly if a legitimate source starts failing authentication due to a configuration change on their side.
Adding records to DNS does not automatically mean they are working correctly. DNS propagation takes time, record syntax must be exact, and certain hosting control panels introduce formatting errors when adding TXT records. Always verify after adding records rather than assuming they are correct.
mxtoolbox.com offers dedicated checkers for SPF, DKIM, and DMARC. For SPF: use SuperTool > SPF Record Lookup. For DKIM: SuperTool > DKIM Lookup (you will need your DKIM selector, e.g., “google” for Google Workspace). For DMARC: SuperTool > DMARC Lookup. Each tool shows the raw record, validates the syntax, and flags common errors.
mail-tester.com is the most comprehensive end-to-end deliverability checker. Send a real email from your WordPress site to the provided address and get a score showing SPF pass/fail, DKIM pass/fail, DMARC alignment, content analysis, and blacklist status all in one report. This is the most useful verification tool because it tests real sending behavior rather than just DNS record existence.
If your recipients use Gmail, Google Postmaster Tools (postmaster.google.com) provides domain-level reputation data, spam rate metrics, and authentication pass rates specifically for email delivered to Gmail inboxes. This is the closest thing to direct feedback from Gmail’s spam filter about how your email is being received.
After making DNS changes, monitor your email log closely for the first 24–48 hours. A log that shows consistent successful delivery status for all outgoing emails is the practical confirmation that your SMTP and DNS authentication are working together correctly. Any sudden pattern of failures appearing in the log after a DNS change indicates a misconfiguration to investigate.
Email deliverability is not a single switch you flip, it is an infrastructure you build in layers, each one reinforcing the others. SMTP gives your email a trustworthy origin. SPF authorizes that origin at the DNS level. DKIM proves cryptographically that your email is authentic. DMARC enforces policy and gives you the reporting to see how the whole system is performing across every inbox that receives your email.
None of these layers is technically complex. Each one is a DNS record, a text entry in your domain’s settings, and an account-level configuration with your email provider. The total time investment for a complete setup is a few hours spread over a few weeks as you wait for DNS propagation and monitor DMARC reports. The result is a WordPress email infrastructure that is indistinguishable from the email setup of a professional organization with a dedicated IT team.
And through all of it, the email log running inside Nexu Mail SMTP. the WordPress SMTP plugin with integrated delivery tracking and email log. is the practical feedback layer that confirms your DNS work is translating into real delivery improvements, not just correctly formatted records that you have no way to verify are having their intended effect.
Nexu Mail SMTP handles the SMTP layer and gives you a complete email log to confirm your SPF, DKIM, and DMARC work is producing real, measurable improvements in WordPress email delivery.







So I set up SPF, DKIM, and DMARC just like the guide said, but I'm still getting a few emails from servers not on my list they're just marked as suspicious instead of being blocked outright
I've been fighting WordPress email deliverability problems for years, and this guide was the first thing that actually made everything click. most tutorials just tell you to set up SMTP and call it a day, but like the guide points out, that's barely half the solution
Finally found a guide that actually explains SPF records instead of just saying "add this line.